Profile
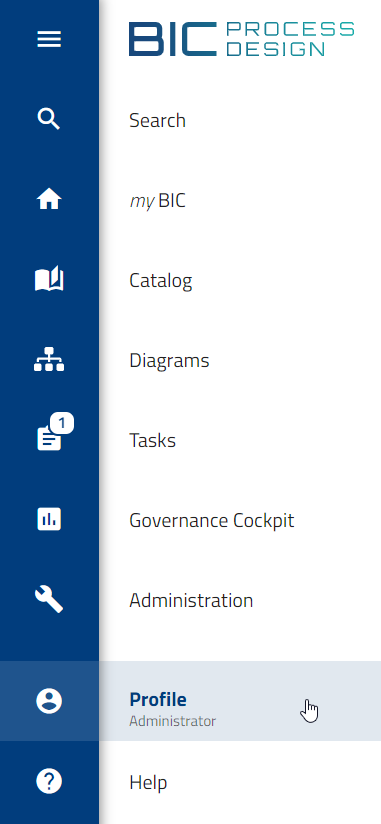
You can open the Profile using the menu item with the same name in the left menu bar. The following information relates to your user profile.
Where can I find my user profile?
As a user, open the menu item Profile in the left menu bar. There you can see your personal information. This includes your username and your saved email address. You can also set your role, the content language, the alternative language, and the high contrast here.
If the menu is collapsed, your short profile is shown at the bottom left. There you can see your email address, your active user role, and a switch to turn high contrast on or off. If you have more rights than the user role Reader, you can change your active role in the system. This allows you to view the system from the perspective of another user role.
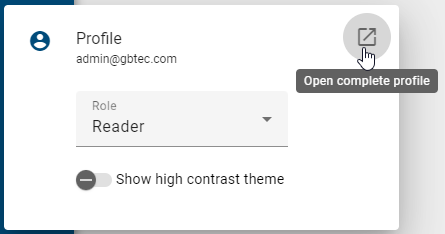
Click the button Open complete profile to open your user profile and make further settings.
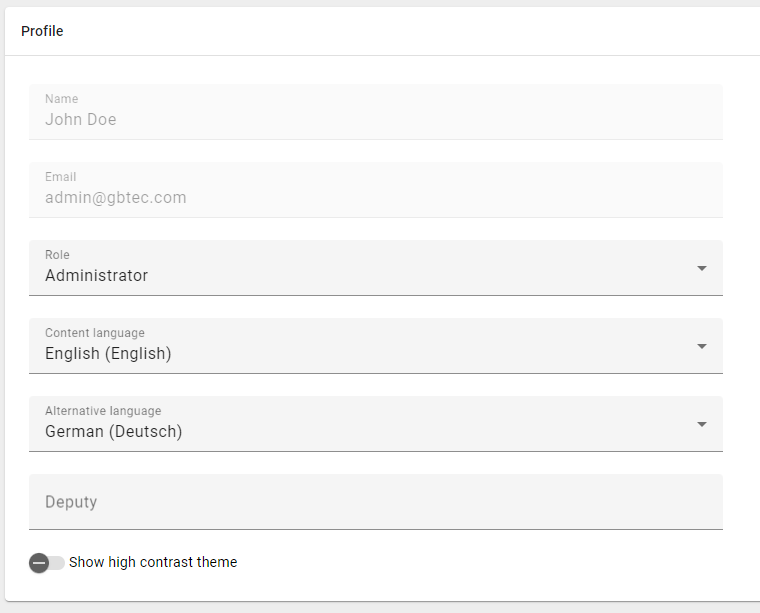
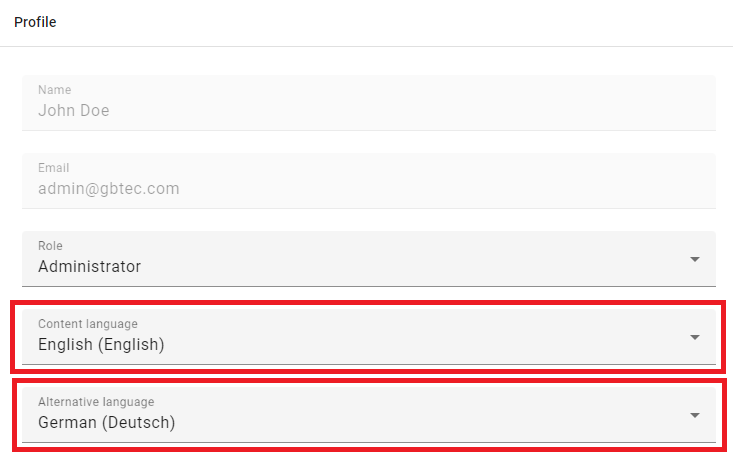
In the middle of the screen, all your profile information is displayed. You can only view your name and your email address. You cannot change this information.
Using the drop-down menu under Role, you can switch your user role. With other drop-down menus, you can set the Content language, the Alternative language, and a Deputy. With the switch Switch to high contrast, you can adjust the display.
Which user roles are available and what permissions do they have?
In general, five different user roles with different permissions are available. The user roles build on each other. This means that each higher user role also has the rights of the previous role. You can find your active user role via the menu item Profile in the left sidebar – both in the short profile and in the full user profile.
Reader: Users with the user role Reader only have read rights in the publication. This means they can view all published diagrams. They can also see the related attributes, symbols, catalog entries, and documents. Readers can create comments and reports and use the print preview. In addition, they can save diagrams as favorites.
Reviewer: Users with the user role Reviewer have the same rights as Readers. In addition, they have access to the preview area. They can view and edit assigned governance tasks such as publication, depublication, or resubmission. This applies if they are defined as the review instance for a specific diagram or catalog entry. However, Reviewers cannot start a governance workflow.
Author: Users with the user role Author generally have the same rights as Reviewers. In addition, they have access to the public workspace. There they can see all catalog entries and all diagrams in this workspace. Usually, they can also model diagrams and automatically create new catalog entries. To use these functions, they must be entered as Author in the attributes of the respective diagram or object. Authors are therefore specifically assigned to model individual diagrams or edit individual objects.
Editor: Users with the user role Editor are, like Authors, responsible for creating and editing diagrams. However, they do not need to be entered in the attributes of a diagram to edit it. Editors can also make changes across diagrams. This means they can edit catalog entries, manually create new ones, or delete them. They can also accept or reject catalog entries. In addition, they can take over administrative tasks for governance workflows. They can view and manage all workflows. In the Governance Cockpit, Editors have the same rights as Administrators. They can delegate or cancel workflows.
Administrator: Users with the user role Administrator have all rights of the other user roles. In addition, they have special administration rights. They have access to the administration area. There they can create, delete, and rename repositories. They can also stop the editing of diagrams, which means they can unlock a diagram.
Accessible workspaces |
Administrator |
Editor |
Author |
Reviewer |
Reader |
|---|---|---|---|---|---|
Public workspace |
Authorized |
Authorized |
Authorized |
Not authorized(*) |
Not authorized(*) |
Preview |
Authorized |
Authorized |
Authorized |
Authorized |
Not authorized(*) |
Publication |
Authorized |
Authorized |
Authorized |
Authorized |
Authorized |
(*)Read access to individual diagrams in the public workspace can be granted (see Share diagram from public workspace)
Hint
If you use BIC Process Execution, you can define the user role for Process Execution in the administration directly in the administration.
Tip
In the diagram in the right sidebar in the panel Details, users or user groups can be linked to diagrams and objects. This extends their tasks and functions. In addition, access restrictions can be defined for diagrams and repositories for specific users and user groups.
How can I change my user role?
As a user, open the menu item Profile in the left menu bar. There you can see your personal information. This includes your username and your saved email address. You can also set your role, the content language, the alternative language, and the high contrast here. If you have more rights than a Reader, you can change your active user role in the system.
Tip
In the short profile of the collapsed menu, you can quickly change the user role from any area of the application.
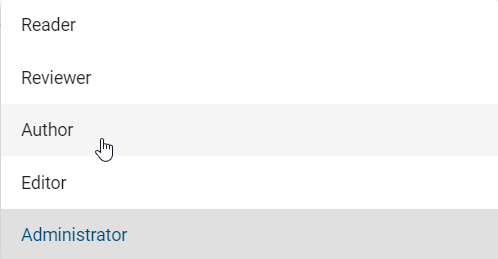
In the Profile, you can see your active user role under the button Change role. Click on your current user role or on the button Change role. A drop-down menu will open.

You can then select one of the available user roles with a click to change your active role.
The selected settings remain saved until the user changes their user role again. This also applies after a new login. The system does not automatically switch back to the user role set by the Administrator.
How can I set a deputy?
As a user, open the menu item Profile in the left menu bar. There you can see your personal data such as your username and your email address. You can also set your role, the content language, the alternative language, and the high contrast here. In the full Profile, you can define a deputy. This person takes over your tasks if you are absent for a longer period. This function is available for all users with more rights than a Reader.
To define a deputy, open the menu item Profile and scroll down. There you will find the input field Deputy.

Hint
If the menu is collapsed and you navigate to the menu item Profile, click on Open full profile in the short profile. Then you will see the input field.
Enter the desired username in the field or select it from the suggestion list. The selected user will then see your tasks under Deputy tasks.
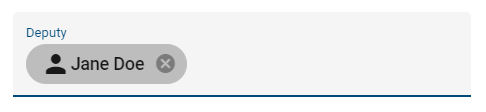
You can remove the deputy again. To do this, click on the cross icon Delete next to the username.
How can I change the content language and the alternative language?
As a user, open the menu item Profile in the left menu bar. There you can see your personal information such as your username and your saved email address. You can also set your role, the content language, the alternative language, and the high contrast here and select a content language and an alternative language for your diagrams. The attributes of diagrams and objects are displayed in the selected content language.
The alternative language is used if an attribute is not maintained in the content language. If an attribute is not maintained in either the content language or the alternative language, it is displayed without content (for example without a name or label).
Further information can be found in the chapter Multilingualism. Multilingual modeling is also explained here.
To change the language, open the menu item Profile in the left menu bar. Select the content language or the alternative language from the respective drop-down menu.
Tip
If the menu on the left side is collapsed and you navigate to Profile, click on Open full profile in the short profile. There you can select the content or alternative language.
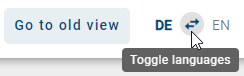
A more detailed description can be found in this chapter. Your change is visible at the top right next to your username. The abbreviations of the content language and the alternative language (for example DE/EN) are shown in brackets.
Hint
Please note that when you switch to the alternative language, process names, descriptions, and forms are displayed in this language if a translation is available. If no translation is available, the content remains in the original content language. The user interface and system messages remain in your browser language.
Hint
Please note that notifications and emails are always displayed in the content language, even if you have switched to the alternative language.
How can I enable high contrast?
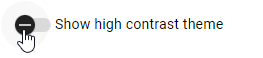
As a user, open the menu item Profile in the left menu bar. There you can see your personal information such as your username and your saved email address. You can also set your role, the content language, the alternative language, and the high contrast here. To switch to high contrast view, scroll down in the menu item Profile and click the button Switch to high contrast. Activate it to display the application with stronger contrast.
You can disable high contrast again in the same way.
Tip
You can also switch high contrast in any area of the application. Use the short profile in the collapsed menu. There you can also change your active role.
How do I log out?
We recommend that you log out of BIC Process Design after you finish your work.
As a user, open the Profile menu item in the left navigation bar. There you can see your personal information, such as your username and your saved email address. You can also set your role, the content language, the alternative language, and the high contrast mode.
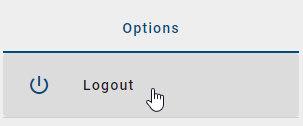
If you want to log out, open the Profile menu item in the left menu bar. In the desktop view, go to the Options panel in the right sidebar and click the Log out button.
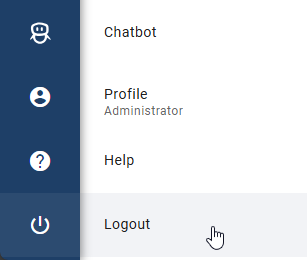
Alternatively, you can log out by selecting the last menu item Log out in the left menu bar.
In the mobile view, you can find the Log out button in the top right corner of the header.

After that, you are redirected to the logout page. If you work in multiple repositories, the system automatically opens the repository you last worked in the next time you log in.
Note
If you are inactive for 30 minutes or more, your session ends automatically. Five minutes before that, you receive a hint that you can extend your session by clicking on the hint. If you remain inactive, you are logged out automatically and must log in again.