Variant management
A variant is a direct copy of the original diagram that can be edited as required. The variant is adopted in the maintained content languages of the original diagram. This can be a valuable approach, for example, when a process is implemented company-wide but requires adaptation for different countries.
Diagrams
How do I create a variant?
As an Author, Editor, and Administrator, you have the ability to create variants of checked-in diagrams in the Public workspace.
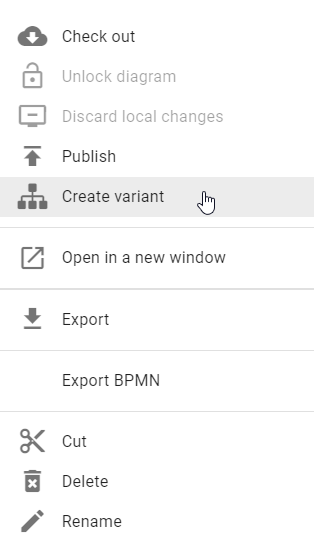
First, open the context menu for the diagram from which you intend to create a variant and select the Create variant option.
A dialog window will open, where you can adjust the name of the diagram as required. The name of the original diagram will be displayed in the input field by default.

Then, click on SAVE to create a variant. If you want to cancel the process, click on CANCEL. After the variant is created, the diagram will be displayed in alphabetically order in the category you are in.
Once the variant has been created, you will be able to locate the attribute Variant origin in the Details when you open the diagram. This will establish a reference to the original diagram from which the variant was created.
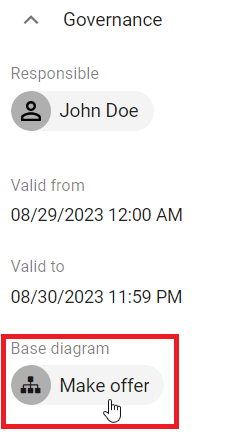
Once a variant is created, you are automatically entered as the author in the governance attribute, depending on whether you are entered as the author in the original diagram. You can then check out the variant and edit it. This also applies if you are not yet stored as a person object in the catalog. In this case, the system will automatically create an accepted person object as a catalog entry.
Note
It is also possible to create variants of variants.
How can I compare diagram variants?
You have the option of comparing variants with each other. You can compare both the base diagram with a variant and a variant with another variant.
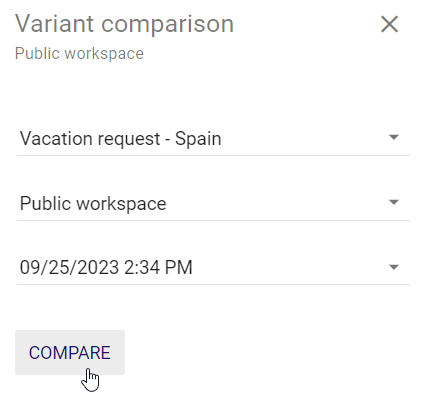
To do this, click on Variant comparison in the menu bar of the checked-in or checked-out diagram.

You can then select a diagram variant, the stage and the version. Then click on Compare to compare a diagram variant with the diagram being displayed.
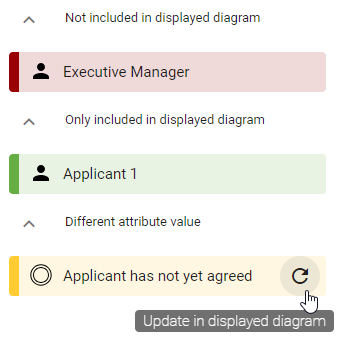
If the diagram being displayed contains at least one object that is different from the diagram variant, the object is listed in one of the following sections:
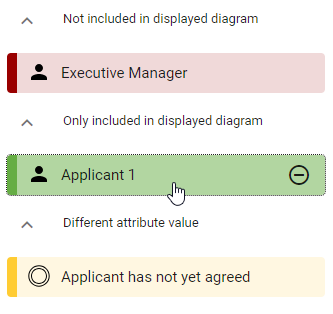
Not included in displayed diagram: The object is not included in the displayed diagram.
Only included in displayed diagram: The object is included in the displayed diagram only.
Different attribute value: The object has different attribute values in the displayed diagram.
How can I highlight the differences between the diagram variants in color?
To highlight a different in the diagram variant in color, you can click on the object of the corresponding section.
Hint
Non-existent object cannot be colored in the diagram and appear only in the Not included in displayed diagram section.
The object is then additionally highlighted in the displayed diagram. A green marker indicates Only included in displayed diagram and a yellow marker indicates Different attribute values.
If only objects have been rearranged between the displayed diagram and the diagram variant, the diagram name has been changed, or no changes have been made, you are notified that no changes were detected during the comparison.
How can I add or remove objects when comparing diagram variants?
You can add or remove objects while you are comparing a diagram variant with the displayed diagram. To do this, you must have checked out the displayed diagram.
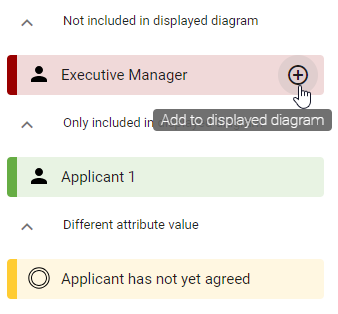
When you move the mouse pointer over the Not included in displayed diagram section, the Add to displayed diagram button appears. This allows you to add the object to the diagram that is included in the diagram variant but not in the diagram being displayed.
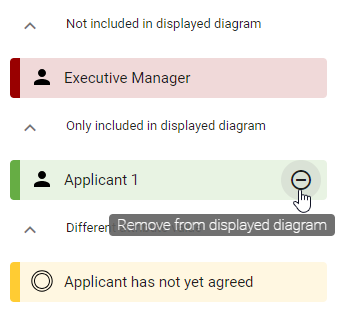
When you move the mouse pointer over the Only included in displayed diagram section, the Remove from displayed diagram button appears. This allows you to remove the object from the diagram that is included in the displayed diagram but not in the diagram variant.
Clicking the respective button will execute the action immediately, and the change will no longer appear in the comparison. The only way to undo the action is to discard the local changes or click Undo (alternatively CTRL+Z) in the editor.
Where can I see and apply changes to attribute values between diagram variants?
To view the changes to the object’s attribute values in the displayed diagram, click on the respective object.

This opens the details of the selected object. The headers of the changed attribute values are highlighted in red.
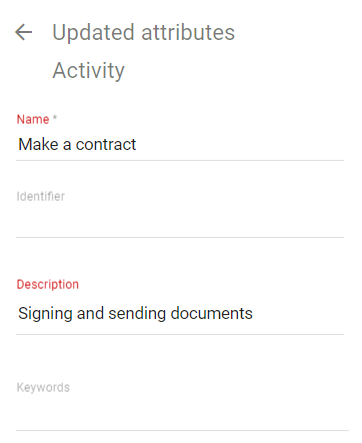
If you move the mouse pointer to the Different attribute values section when the diagram is checked-out, a Update in displayed diagram button will be displayed. You can click on this button to apply the changes to the displayed diagram.
