Catalog
What is the catalog?
The catalog contains all master data from your diagrams that may be reused; such as roles and IT-Systems. The processing and quality assurance of catalog entries is available to users with administrator or editor rights to support a central administration of master data. A distinction is made between accepted catalog entries (displayed in black) and master data which has not been accepted yet (displayed in red and italics). The editing of accepted catalog entries in the catalog can also be enabled for users with the Author role by entering them in the governance attribute Author of the catalog entry. In general, users with the user role Author (not the Author attribute) can create entries in the catalog and also edit entries they have created themselves. While modeling, suggested catalog entries appear as usual in red and italics in the modelers’ suggestion list, but can be changed in the diagram. As soon as an administrator or editor has accepted catalog entries, they appear in black text (not italics) in the suggestion list and cannot be changed by modelers anymore. This reduces the risk of objects being accidentally changed in individual diagrams, which are reused elsewhere and thereby result in unintended side effects.
You can find the Catalog in the menu bar and open it with one click.

The catalog opens and a list of all catalog entries, that you can access, is displayed. This includes the symbol of the type, the name and the description of each catalog entry. In addition, the associated attributes and occurrences can be displayed. If more than 100 catalog entries exist, you can use the pager on the right to navigate through the catalog. You can see the number of currently listed catalog entries in the menu bar next to the “Catalog”. With the dashboard some of the data from your catalog can be represented graphically.
Search, filter and sort catalog entries
How do I search for catalog entries in the catalog?
You can search for specific catalog entries. Click on Search represented by a magnifier in the menu bar of the catalog and type in the name of the catalog entry you want to search for. To start the search, click on the magnifier or outside the input field or press enter.

You will see all the search results that contain a specific term.
Note
The search results are sorted by relevance. Therefore, it is not possible to sort them by name.
How can I filter catalog entries?
Navigate to the Catalog.
Filters for object types in the catalog are listed in the left sidebar. Next to the name of the object type, the current number of objects of this type in the entire catalog is also displayed. The number is updated when creating and deleting catalog entries. If you click on the desired filter, it will automatically be expanded and applied to the catalog.
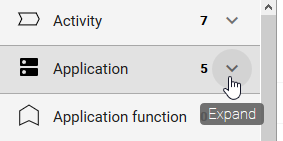
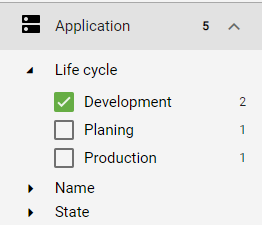
The catalog only displays entries of the selected type, as you can see in the header of the catalog. After expanding the filter, individual facets are displayed for the selected entity type. A facet corresponds to an attribute type of the object type and is listed here as soon as it has been maintained on an object and activated in the administration area. The order is alphabetical. Attribute types that include checkboxes or assignments to persons are not taken into account here. The facets can also be expanded. The attribute values of the object type appear and are always listed independently of a search term. Each attribute value has a checkbox and can be selected and deselected to limit the search to that value. The current number of objects in the catalog with the respective attribute value is displayed to the right of the corresponding name.
You can now select more facets, search within the filter, or remove the filter. By collapsing the filter or facet, all filter and facet settings are reset. Note, that you cannot select two filters at the same time.
Filters, which have no corresponding catalog entries can be hidden. To do so use the option to automatically generate catalog entries, when checking in. In case this option is deactivated the affected filter will be hidden. This filter will then only be displayed in the left sidebar if catalog entries for this object type already exist or in case a new catalog entry has been manually created in the catalog.
How can I filter the catalog for suggestions?
You can have all proposed (red and italic font) catalog entries displayed to ensure the quality of the catalog. To do this, select Only show suggested items from the catalog menu. The corresponding symbol is then displayed in red and only red and italic entries are listed.

Similarly, you can display all catalog entries again.
How do I sort catalog entries?
You can sort catalog entries alphabetically for a better overview.
Click on the arrow icon Sort descending in the catalog menu. The entries are sorted alphabetically.
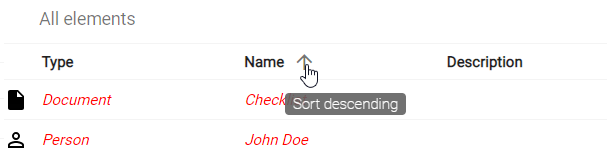
If you click the icon again, which is now called Sort ascending, the entries are sorted alphabetically in reverse order.
Dashboard
What is the dashboard used for and where can I find it?
Using the dashboard all catalog entries can be displayed in the form of charts. To access the dashboard click on the Dashboard icon in the catalog menu.

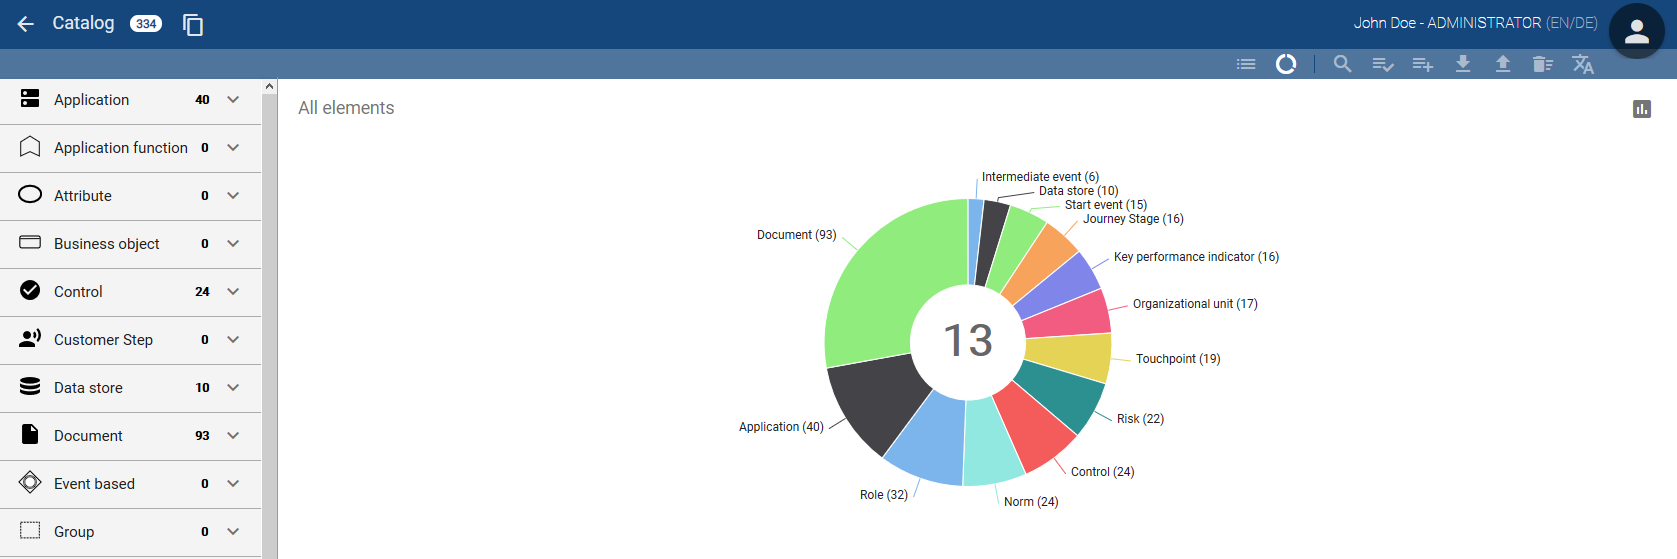
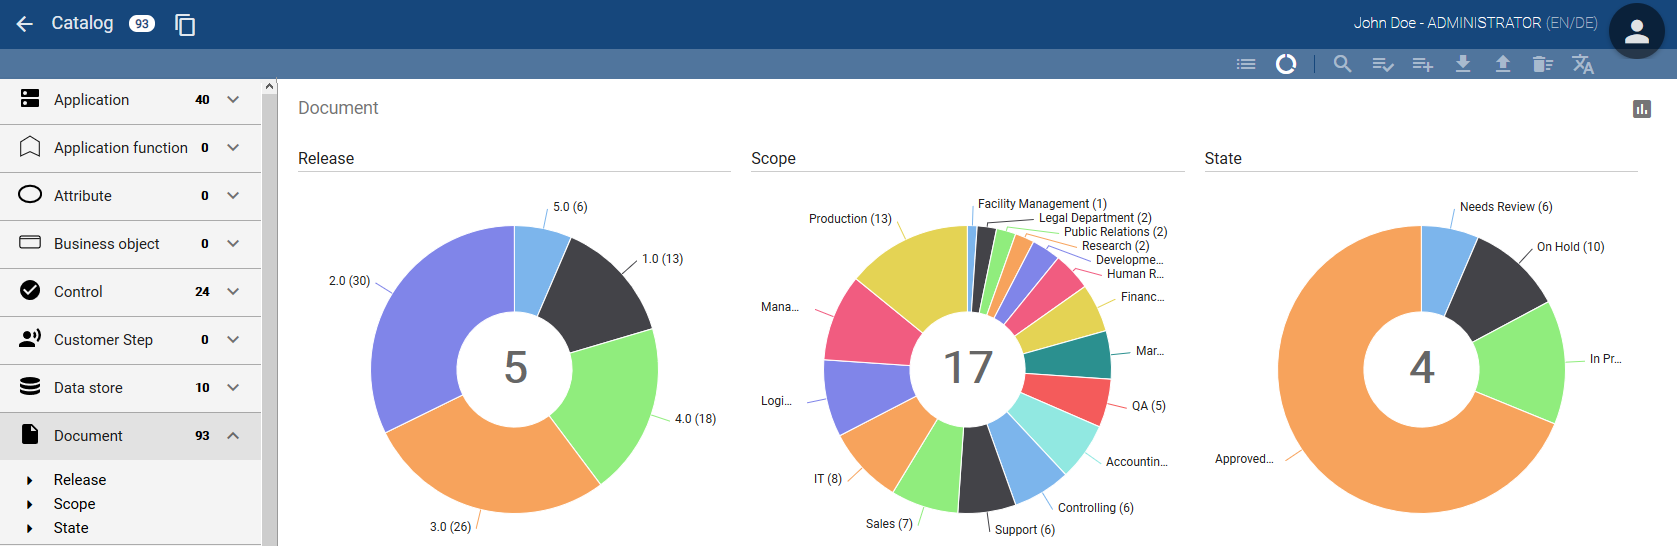
The dashboard opens with a donut diagram in which all catalog entries are sorted according to the object types. To return to the usual list-based view of the catalog entries, select the Catalog entries icon next to the dashboard icon.

Note
Please note that as long as you are in the dashboard mode not all functions of the catalog are available. For example you cannot use the reorganize function.
Which data is offered by the dashboard?
In the dashboard you can decide whether you want to display an overview of all catalog entries of all object types or all facet values of all catalog entries that belong to a specific object type.
If you have not selected a filter in the catalog, all catalog entries will be displayed, sorted by object type. In parentheses after the name of the object type, the number of catalog entries that exist for this type are shown.
In case you have selected a filter, the facets and their values are displayed for the specific object type. A separate diagram is displayed for each facet. Each of these diagrams shows the different values that exist for the respective facet. Behind each of the values in parentheses you can see the number how often this value was given for the facet.
Note
In the administration area you can set facets which are displayed for an object type in the catalog.
What options does the dashboard offer to display the data?
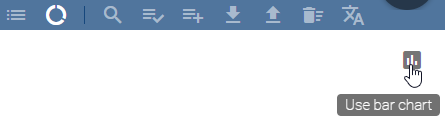
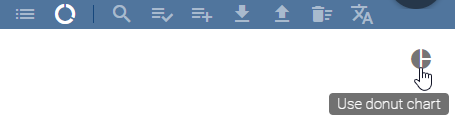
You can display all information in form of an donut- or bar chart. To switch between the two views, use the Use bar chart or Use donut chart button in the upper right corner of the dashboard.
You can have individual elements highlighted by moving the courser over an element in the bar- or donut diagram.
Tip
The number displayed in the center of the donut diagram shows the the number of different entity types within the catalog. Or if a filter has been selected it shows the number of different values which exist for one facet.
Quality assurance in the catalog
How do I accept suggested entries in the catalog?
Catalog entries can only be accepted by certain user roles. The user roles Administrator and Editor are authorized to manage catalog entries.
Create a new catalog entry or search for an existing catalog entry in the catalog that has not yet been accepted. You can recognize not yet accepted entries by a highlighted red and italic font.

Click the Accept or reject an entry-button.
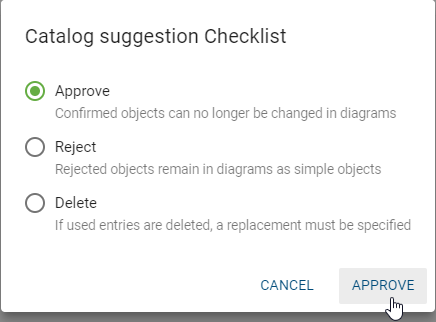
A dialog with the options Approve, Reject and Delete will be displayed. Select the option Approve and confirm your selection.
If an object of the approved catalog entry is changed in a diagram, the entry in the catalog is not changed but a new catalog entry is created instead. Changes for reuse of the accepted entry can thus only be made via the catalog itself.
Tip
You can filter suggested catalog entries by selecting the menu item “Show only suggested items”.
Note
For ease of use in modeling, suggested catalog entries can also be accepted directly within the validation.
How do I reject suggested entries in the catalog?
Items that have been rejected in the catalog are removed and no longer available for reuse in any diagrams (via the suggestion list). You can reject proposed entries from the catalog as follows.
Navigate to the catalog and search for the entry you want to reject. Click the Accept or reject an entry button.
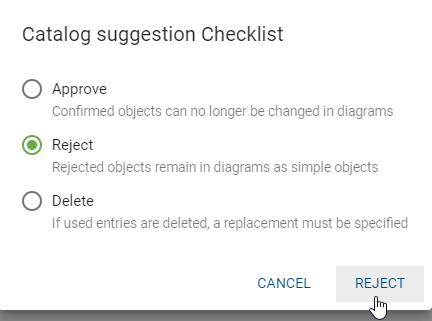
A dialog with the options Approve, Reject and Delete will be displayed. Select the option Reject and confirm your selection. The entry is then removed from the catalog.
Note
Objects of the rejected entry that were previously modeled in diagrams will not be deleted. They will remain within the diagram as modeling objects and can not be administrated any more through the catalog. In addition they can not be reused in other diagrams.
How do I delete suggested catalog entries?
A proposed catalog entry can be deleted via the context menu or by executing the following steps:
Navigate to the catalog and search for the entry you want to delete. Click th Accept or reject an entry-button.
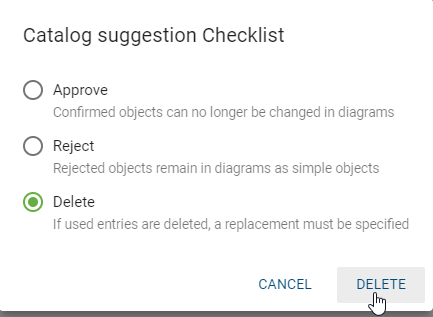
A dialog with the options Approve, Reject and Delete will be displayed. Select the option Delete and confirm your selection.
If the catalog entries are not used in a diagram or in attributes, the deletion can be done without further side effects and the entry will be directly removed from the catalog. If this catalog entry is used in a diagram, you must select a substitute in the catalog before the entry can be deleted. This works the same for entries, that are only used in the attributes. Additionally, it is possible to delete those entries without selecting a replacement, which automatically remove the attribute chips as well.

Note
If the catalog entries are used, the deletion corresponds to the merge of two catalog entries. In the procedure, the object in the diagram adopts the attributes of the catalog entry that is selected as a substitute.
How do I change the state of an accepted catalog entry?
Catalog entries, that are accepted (black), can be set to the state “catalog suggestion” (red and italic font).
In the catalog, navigate to the desired accepted entry and open the corresponding context menu.

Select the option Change to suggestion.

This causes the catalog entry to be displayed in red and italic and interpreted as catalog suggestion.
Edit catalog entries
How do I create new catalog entries?
You can generate new catalog entries in three different ways, which are described below.
Create entries directly in the catalog:
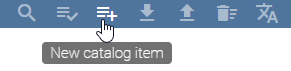
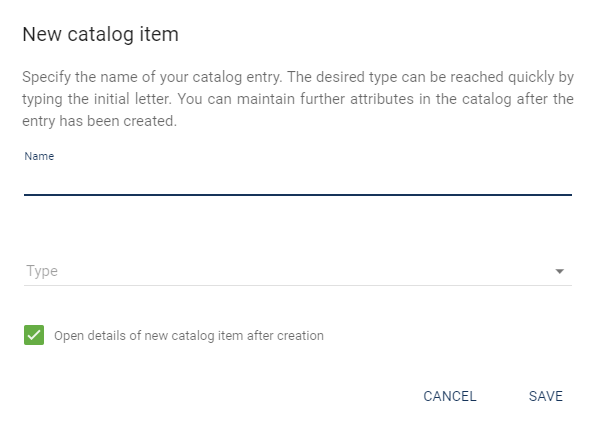
You can create new catalog entries directly in the catalog. To do so click the New catalog item-icon.
A dialog appears. There, enter the name and select the type (for example, a role) for the new catalog entry. If the checkbox below the catalog type selection filed is activated, the details view of the new catalog entry will open as soon as you confirm your entries. You can then edit the details of the new catalog entry. In case you deactivate the checkbox, you will remain in the catalog’s overview after the confirmation.
Adding entries by modeling:
New catalog entries can also be generated when creating new symbols in the diagram. The activation of the object type as catalog suggestion in the administration area is required to use this function.
Create a new symbol in a diagram, which can be used in the catalog. (These are reusable symbols, such as roles, risks, etc. Symbols that are not displayed in the catalog by default are symbols which are normally unique, like for example activities and events.) You then have to check in your diagram to make the items available in the catalog. As soon as you have checked in your diagram, a new catalog entry for each of the symbols is available. Furthermore, they are available in the suggestion list when creating new symbols of the same type in the editor.
Suggest existing symbols as catalog entries
Your diagram may contain symbols for which no catalog entry exists. In this case, you will not see a corresponding label “catalog suggestion” or approved “catalog item” in the attribute bar. You can now create a new catalog suggestion for this symbol from the diagram. The diagram has to be checked-in. In addition, catalog suggestions for the respected type must be allowed.
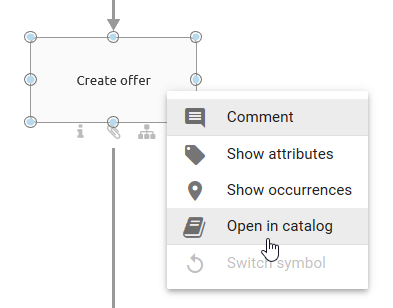
Navigate to the diagram in which the object is located. Afterwards open the context menu of the object with a right click and select the option Suggest to catalog.

You will receive a notification confirming the creation of the new catalog entry. After updating the attribute bar, you can now see the addition “catalog suggestion” there. If a catalog entry already exists for the symbol in question, the option Open in catalog instead of Suggest to catalog will be displayed in the context menu.
If you select this, you will automatically be taken to the details view of the corresponding catalog entry.
Note
Newly created catalog entries are not initially confirmed. This becomes visually clear through their red and italic font.
How do I edit attributes of catalog entries?
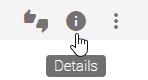
Go to the catalog and search for a catalog entry that you want to change. There click on an entry or on the Details button for that catalog entry and the attributes will be opened.
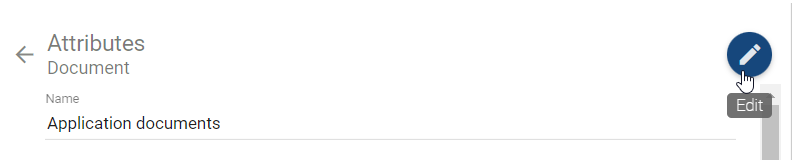
Then select the function Edit to enter the edit mode to be able to set values for the individual properties.
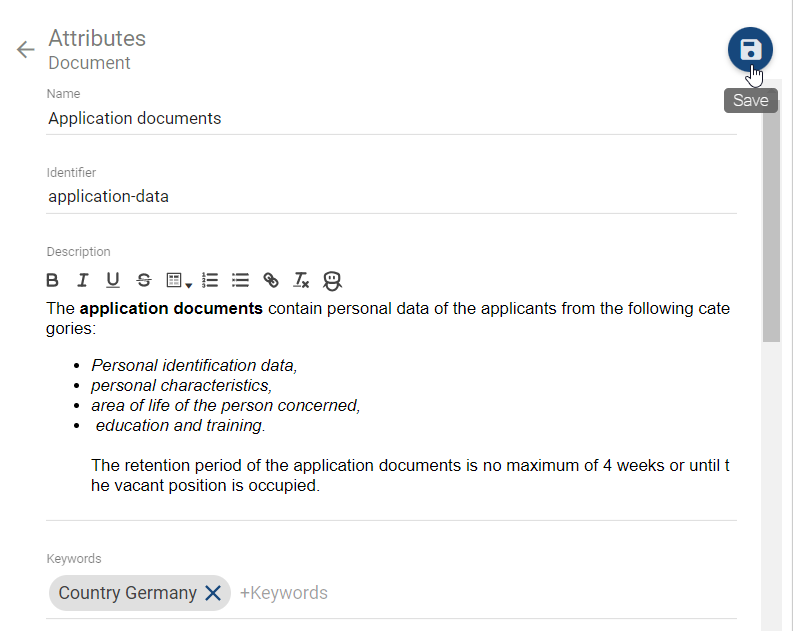
Edit the attributes according to your wishes by changing, inserting or deleting values. Read-only and system attributes cannot be edited. You can add links and files in the attribute field Attachment (URL). The attachments can be provided language dependent. An explanation for the functionality can be found in the chapter about the attribute attachment. Moreover, note the different functionality to edit the attribute *Description* whereas tables are also supported.
Confirm your changes by selecting Save. You can return to the original catalog view via Back in the upper left corner. The corresponding catalog entry is then selected. If there are unsaved changes, you will get a hint when clicking the Back arrow. It then gives you the possibility to save your changes or discard them.
Note
In the edit mode you can only see values of properties that have been maintained for the selected content language. Outside of the edit mode you will also see values that have been maintained in the alternative language but not in the content language. This behavior enables you to be sure that when being in edit mode you will always set up values for the currently selected content language.
How do I create entities during attribute editing in the catalog?
Organizational units, documents and norms can be created while editing the attributes of certain entities in the catalog.
To do this, the attribute field must be selected. Suggestions of existing catalog entries are shown after the the first letter is entered.
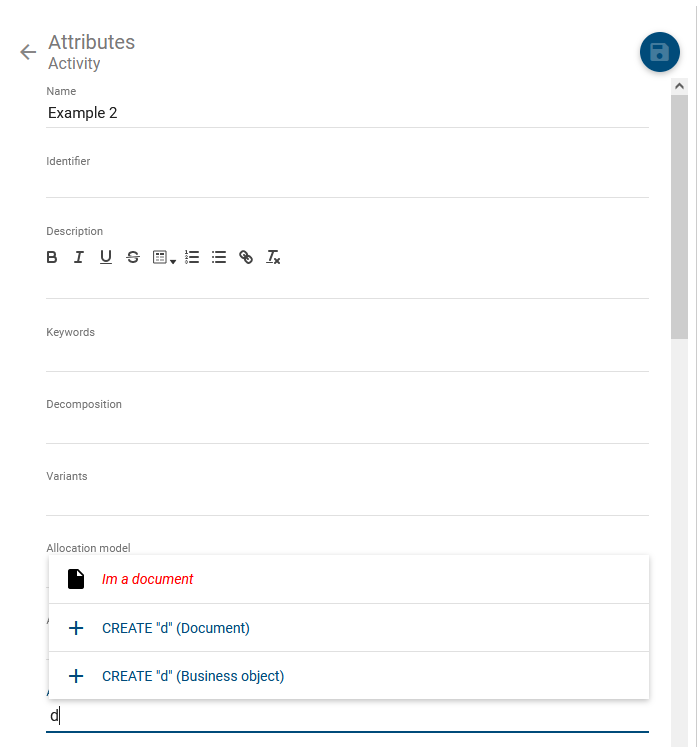
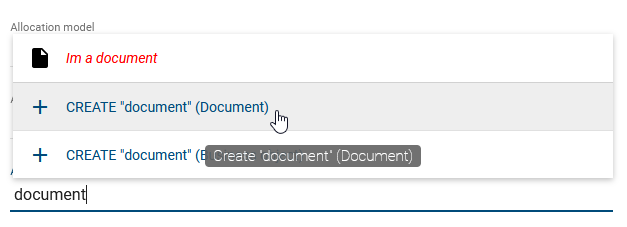
In addition, a new entity can be created and assigned directly. This is done by entering the desired name in the selected field and clicking “create” for the correct option.
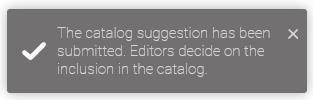
A notification will inform you that the chosen entity has been created and added to the publishing workflow for new catalog entries.
What happens if I change catalog entries in the catalog?
When you save changes that where made to catalog entries in the catalog, they will be automatically applied to all entities of these catalog entries in all checked-in diagrams. For a better understanding you can execute the following steps:
Edit an attribute of a catalog entry. Then open a model that contains an entity of the changed catalog object. You can see that the properties of the attribute in the public workspace are updated according to the changes.
Note
If you have checked out a diagram for editing before you changed the properties in the catalog, the change only becomes visible after check-in. If you edit this symbol before you check it in, a new entry is created in the catalog, separately from the previously modified one. The changed catalog entry remains unchanged from this local modification.
What happens if I change symbol attributes in a diagram that are in the catalog?
If you change symbol attributes in a diagram when they have already been accepted in the catalog, a new catalog entry is created for this symbol. This serves to prevent unwanted or accidental changes in the attributes of the same symbol. The creation of new entries allows you to manage changes centrally in the catalog, for example, to decide whether the changes should also apply to other symbols.
Create a new symbol (for example, a role) and select a catalog entry from the suggestion list. The symbol has the same properties as the selected catalog entry. If you change the attributes of this symbol, for example, by renaming it, the following happens.

Accepted (black) catalog entry
A new catalog entry containing the changed attributes is created by checking-in the diagram. Other symbols in the same diagram that previously referred to the same catalog entry are also changed and then refer to the new creation mentioned before. However, the symbols of the catalog entry that are used in other diagrams do not change and the reference remains. If you want to replace the selected catalog entry with the newly created entry for these symbols as well, you have to do it in the catalog.
Proposed (red and italic) catalog entry
Check in the diagram and the changes will be accepted for the existing catalog entry without creating a new one. These changes also affect all other diagrams in which the proposed catalog entry is used.
Note
Be aware that the suggestion list of the server will be updated after you check in your diagram. In other words, if a suggested catalog entry is renamed, this entry will still have the old name in the suggestion list of the server until you have checked in the diagram once.
How do I translate catalog entries?
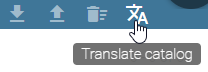
Users with editor rights can maintain translations of catalog entries directly in the catalog for the content languages selected in the administration. Navigate to the catalog and select a filter for an object type. This is necessary for the diagram translation, as the option Translate catalog on the right in the menu bar is now clickable. More filter options, such as the search or facets, can be used additionally.
Click on Translate catalog to switch to the translation mode of the catalog.
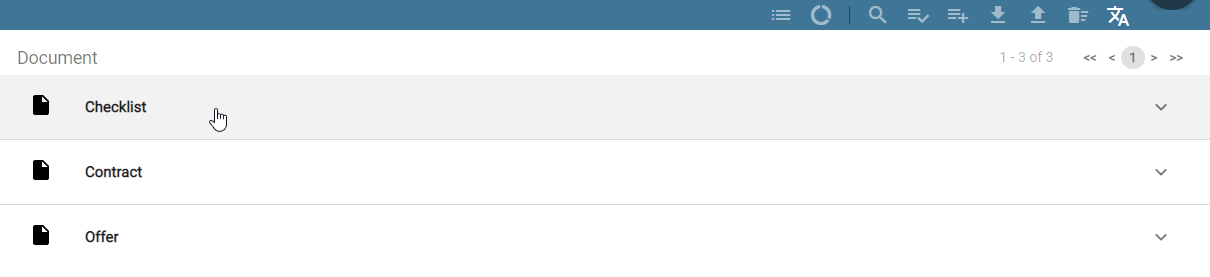
The elements of the filtered object type are still listed and sorted by their names in the current content language. If the catalog list contains more than 100 elements, it will be split to several pages, which you can reach using the upper right pager.
Click on a list entry to expand it and to see all text attributes of this entry in all available content languages. The names of the attribute types, such as “Name” or “Description”, are displayed in your UI languages. You can now maintain or change translations in the text input fields.
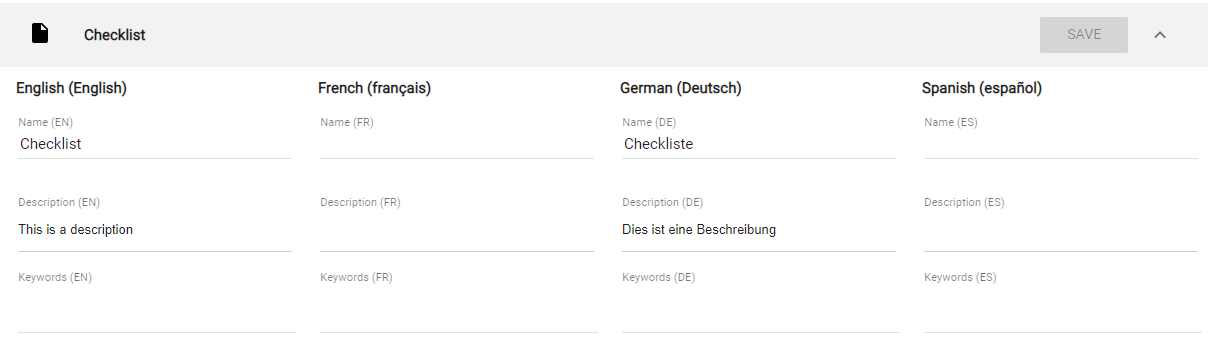
The Save button in the header of the expanded list entry will be clickable as soon as you edit the entry. Click on this button to save your changes. Saving is done separately for each expanded and modified list entry. If you do not want to save your changes for the respective entry, click on Collapse and select Discard changes in the appearing dialog.
By clicking on Translate catalog in the menu bar again, the system will lead you to the usual catalog view. If you have unsaved changes, a respective dialog will appear at this point. Then you can decide, whether you want to Discard changes or Cancel. Thus, clicking on Cancel means you stay in the catalog translation and you can save your changes as described above.

Note
Overall, the translation mode does not distinguish between suggested and accepted catalog entries. This mode is only available for editors and administrators, who are allowed to edit the visible catalog entries. During the catalog translation, accessing the other catalog options in the menu bar is not possible.
Delete catalog entries and reorganize catalog
How do I delete catalog entries?
Select the More options button of the catalog entry you want to delete.
Click on the entry Delete and confirm the deletion in the appearing dialog.
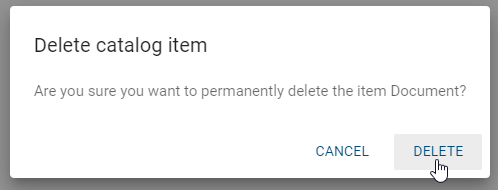
If the catalog entry is not used, the deletion can be done without further side effects. If this catalog entry is used, the following cases are considered:
Diagram: If the catalog is used in a diagram, you must select a replacement of the catalog. Therefore, a second dialog appears in which you must select a different catalog entry of the same type via the suggestion list. The entry can be deleted afterwards.
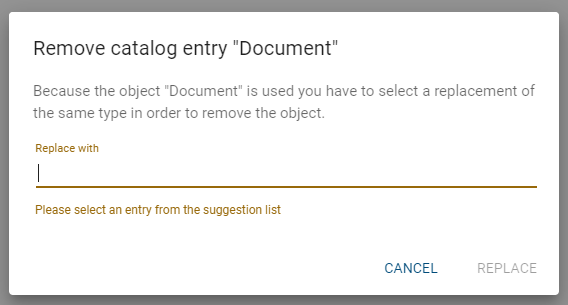
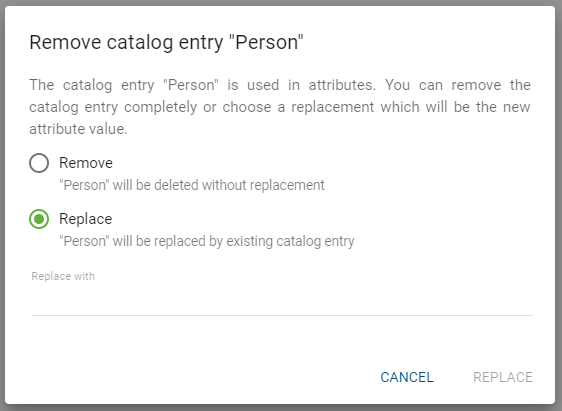
Attribute: If the catalog entry is exclusively used as subprocess in an attribute, a second dialog appears. This applies, for example, to a person object in the governance attributes. Here you can use the Replace option to select an existing catalog entry from the suggestion list. This then replaces the deleted object. Alternatively, you can irrevocably delete the catalog entry from the catalog by choosing Remove. The corresponding deposits in attributes are also removed.
Note
If the catalog entries are used, the deletion and replacement corresponds to the merge of two catalog entries. The object adopts the attributes of the catalog entry selected as a replacement. Proposed catalog entries can also be removed from the catalog by using the “Accept or reject an entry” function.
How can all unused catalog entries be deleted?
With the function Reorganize all unused catalog entries of a special object type can be deleted. This includes all catalog entries that are neither modeled nor used in attributes as subprocesses.
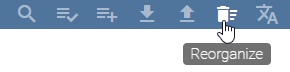
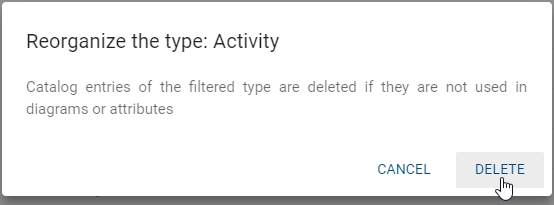
Open the catalog and select the object type you want to filter by. Afterwards click the Reorganize button in the menu bar of the catalog.
Select Delete to delete all unused catalog entries irrevocably from the catalog.
Warning
Please note that the “Reorganize” function affects all unused catalog entries of an object type, regardless of which facets were selected in addition to the filter.
Occurrences
How can I view occurrences of catalog entries in diagrams?
In the catalog, you have the option to view any occurrences of catalog entries. In doing so, all occurrences will be displayed, in which diagrams they are used and the relations they have to other objects.
Select the Catalog entry in the menu bar. There click the Details-button for a catalog entry.
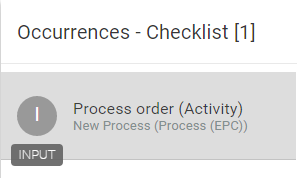
A list of occurrences for the selected catalog entry appears on the right. For occurrences with connections to other symbols, the name of the connected symbol and the name of the diagram are displayed. For objects without connections to other objects, only the diagram name is displayed.
Select an occurrence from the list. The diagram or allocation diagram that contains the occurrence will be opened and the symbol will be pre-selected. Instead, you can return to the catalog by clicking the Back in the top left corner.
You can also display the occurrences of an object in diagrams.
How do I reuse catalog entries in multiple diagrams?
You can reuse catalog entries in multiple diagrams by using the suggestion list. It does not matter whether the entries have already been accepted in the catalog or not (“suggested”).
Create an object type that already exists in the catalog. Edit the name of the object by double-clicking or pressing F2 and type in at least one letter of the catalog entry that you want to reuse. All catalog entries, up to a maximum of five, appear in the suggestion list of the server containing the entered term. For example, the search term “manager” will also find “process manager”. In addition, the suggestion list is prefiltered by the diagram attribute “Scope”:
Scope defined: Only catalog entries whose scope is not defined or which have the same scope as the diagram are found in the suggestion list. Scopes are considered to be the same as soon as an organizational unit exists in both scopes.
Scope not defined: Only catalog entries whose scope is not defined are found in the suggestion list.
Select the catalog entry that you want to reuse from the suggestion list.
Note
The suggestion list for catalog entries in the attributes of an object behaves in the same way. When reusing, note the differences of editing suggested and accepted catalog entries.
Publish catalog entries
With which requirements can I publish a catalog entry?
Administrators, editors and authors have the option to publish a catalog entry independently of a diagram. This is useful for entries changed in the public workspace, so that individual changes are also available in the publication. There are a few points to bear in mind.
You can only publish accepted catalog entries of the public workspace. Furthermore, the catalog entries must have governance attributes that are assigned to a responsible person or organizational unit and optionally one or more examiners.
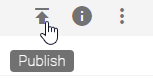
Only if these criteria are fulfilled, it is finally possible to Publish a catalog entry of the public workspace.
For more details about publication and depublication workflows of catalog entries, see the related governance section.
Also note the general reasons for failed publication workflows.
Where can I find old versions of catalog entries?
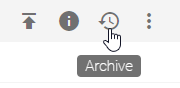
Catalog entries, that have an own responsible person, have the Archive option in all stages.
Archive entries are created when catalog entries are changed. The archive lists all obsolete versions, starting with the latest version. The current version of the catalog object is not listed in the archive. Each archive entry is named by the date and time of the last change. Initially, the first entry is selected and thus highlighted in grey. The corresponding details are displayed on the right side. Likewise, the further list entries can be selected so that their attributes are shown.
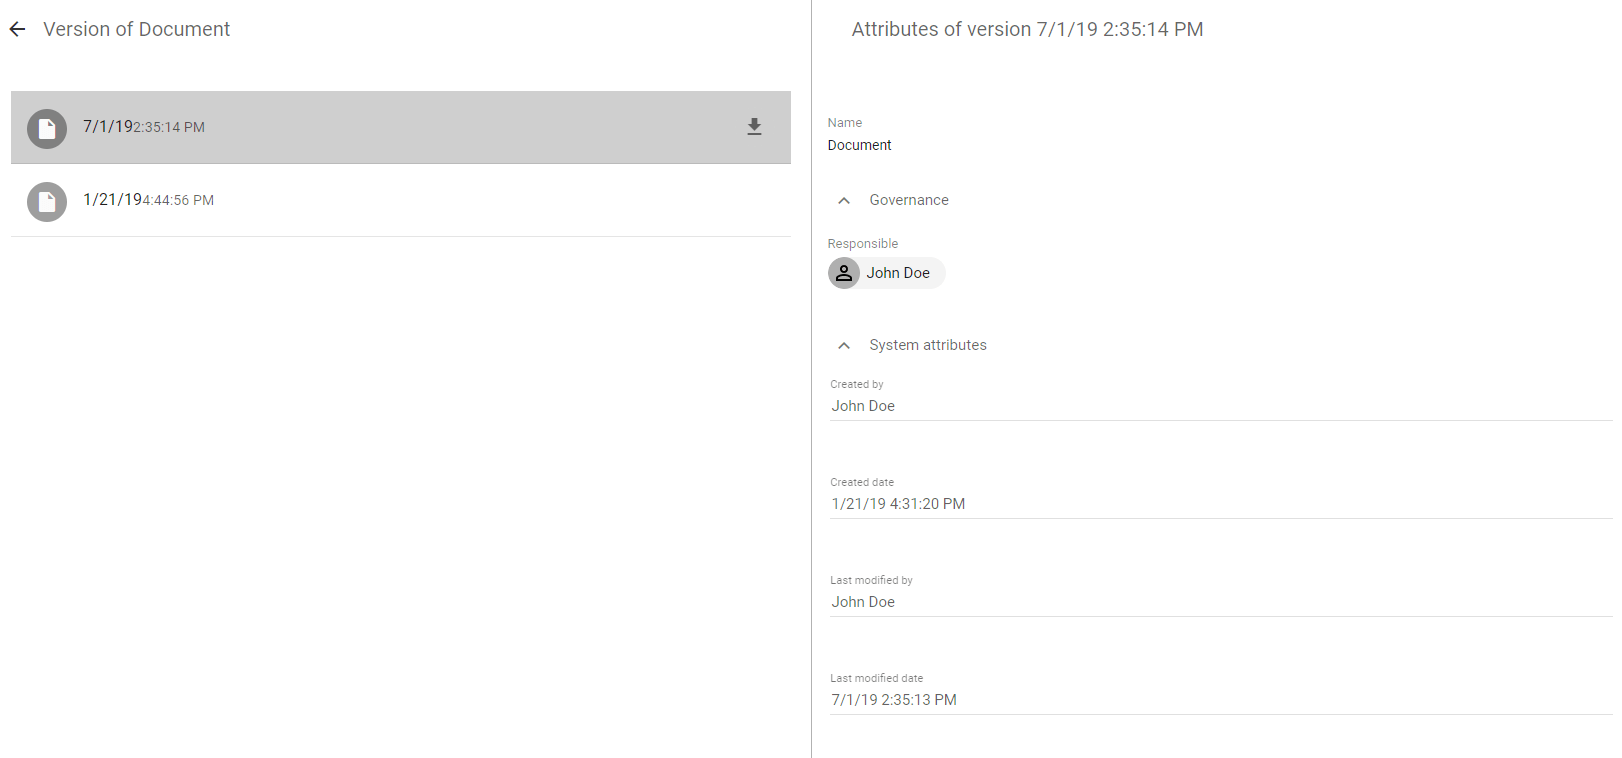
Additionally, it is possible to download the individual versions of the catalog entry. Hover over the desired archive entry with the mouse or select this entry, so that the Download button appears. Click on this button to download the entry as a ZIP file.

Via the Back button you can return to the list of all catalog entries where the previously selected entry is marked.
Reference catalog entries
How can I copy the catalog URL?
If you are in the catalog, you can simply copy the catalog URL to the clipboard to forward it or refer to the search results afterwards. To do this, click on the Copy button in the menu bar. At the bottom right of the screen you will see a toast stating that the URL has been copied successfully. The filters, search and sorting you have carried out are taken over.

How to inform users about changes to catalog entries?
The Editor and Administrator users have the option to inform the creator of a catalog entry about operations such as rejecting, editing, and deleting the entry by e-mail.
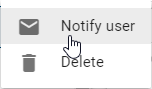
Navigate in the catalog to the context menu More options of the corresponding catalog entry. The default e-mail client will open with an empty e-mail addressed to the creator of the catalog entry via Notify user.
Tip
You can also automatically inform users within a user group about changes in form of de-/publication and if a new version of that catalog entry has been released. To do so use the catalog entry attribute scope.
Catalog Export and Import
How do I create a Process warehouse export in the catalog?
The Process warehouse export contains all currently displayed catalog entries in the form of an Excel table. This means that filters, facets or search results can limit the content of the catalog export.
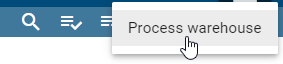
In your menu bar, navigate to the Catalog. Then click on Download report in the menu bar and select Process warehouse in the appearing menu. The export is always created according to the current filtering.
In the export, the first visible row forms the header, that is, the heading of the following rows. In the first column, the unique identifiers of the catalog entries are listed under the heading “Entity ID”. The following columns relate to the attributes of the catalog entry. The names of the attribute types represent the headings, for example the name, identifier, description, attachment, keywords, system attributes and the object type. The following rows specify the filled attribute values associated with the catalog entries. Multi-value attributes, like keywords, are listed separated by a semicolon. In general, the attribute types are only part of the export if they have been maintained for at least one catalog entry.
Hint
In older versions, all attribute types were exported, regardless of whether they were deactivated or removed within the method. From now on, only visible attribute types are exported.
Note
Attribute values exceeding 32767 characters will be automatically shortened. A notification will be provided at the end of the shortened value indicating it has been reduced.
Note
The attribute type IDs, which are defined in the method, are specified in the initially hidden first row. This allows you to re-import the exported data and make changes to catalog entries. However, note the following restriction.
Note
Each cell of the column “Attachment (URL)” contains a comma-separated list of the links maintained in the corresponding attribute field. Maintained titles are specified at the corresponding URLs via URL encoding. If you edit (or add) the title of a URL in the process warehouse, be sure to use URL encoding in order to update the catalog entry successfully.
Note
The date information you find within your exports (e.g., “Valid from”, “Valid to”, “Created date”, and similar) undergo conversion to the time zone of the currently active user. This ensures that the display of date information always aligns with the user’s current time zone.
How can I import data into the catalog?
With the rights of the user role “Editor” you can import a (adapted) process warehouse export in csv or xlsx format into the catalog of the public workspace to add or change data. The data is always saved in the current content language.
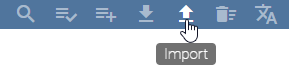
Navigate to the Catalog via the menu bar and select the desired catalog filter. The catalog filter specifies the object type of the subsequently imported catalog entries and must be active for the import. Click on Import in the menu bar and open the desired csv or xlsx file via the appearing file selection dialog. The import is then carried out according to the current filtering, recognizable by a corresponding message at the bottom right of the screen.
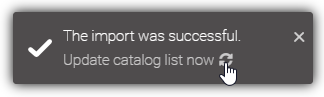
You receive another message about the successful import. Update the catalog by clicking on this message to display the imported entries in the catalog list.
Note
The date information you find within your imports (e.g., “Valid from”, “Valid to”, “Created date”, and similar) undergo conversion to the time zone of the currently active user. This ensures that the display of date information always aligns with the user’s current time zone.
Note
Note that the entries of the “Attachment (URL)” column have to be URL-encoded in order to be imported successfully. Thus, if you like to attach URLs with titles to a catalog entry, the titles have to be URL-encoded.
Functionality:
The import process is explained using exported (customized) catalog entries. The import file is then structured as follows: The initially hidden first row specifies the attribute type ID for each column, that is defined for an object type in the application and is taken into account for your import (shown in the screenshot). The first visible row, that means the second row in the screenshot, specifies the header. The filled out rows below correspond to the catalog entries. This structure basically applies to an import file. In the following example, two catalog entries are created during import in the same order as in the file.

Note
Accordingly, when importing in both csv and xlsx format, the catalog entries are read in from the third row onwards.
Attributes listed in the import are adopted for the catalog entries if the attribute is defined for the corresponding object type in the method: the attribute type and its data type. If this is not the case, the respective attribute type is ignored by the import. The system attributes are set or adjusted automatically at the start of the import and cannot be adjusted manually.
By default, the first column of the import file contains the ENTITY_ID if it is an export. However, if you modify the import file or create it yourself to update or create catalog entries, adopt the structure described above and note the following functionality. If the first column of the import file contains the ENTITY_ID or an attribute type ID of type Text (as the header, see example above) and corresponding row entries,
this column is regarded as identifying. It is used for the case-sensitive comparison with catalog entries.
the row of the file in the import is skipped if no Universally Unique Identifier (UUID) is used to define the ENTITY_ID. A UUID is a globally unique identifier of numbers and letters which is defined by time and location stamps. The use of an existing UUID or the generation of a new one is necessary for the import with ID and the update functionalities based on it. You can generate a new UUID using a generator (e.g. using the Online UUID Generator Tool).
a new catalog entry is created as a suggestion if the ID or text attribute does not already exist in the catalog.
the existing catalog entry with the exact same ID or text attribute is updated, that means the attribute types contained in the import are reset for the selected content language. Accordingly, empty or filled cells in the import delete or change the attributes of a catalog entry. Attribute types that are not listed in the import remain unaffected in the catalog entry. To update via the ID, the corresponding catalog entry must be available in the filtered catalog.
If this is not the case for the ENTITY_ID, that means the same ID already exists for a catalog entry of another object type, the affected row is skipped in the import.
The adjustment using the attribute type ID does not take into account the existing objects of another object type. However, if the selected filter contains several objects with the exact same attribute text, the affected row is skipped in the import.
the status (suggested/accepted) of the catalog entry is not changed.
If several line entries of the identifying attribute have the same name in the import file, the contents of the first corresponding line entry are updated with the subsequent line entries. Note that using the ENTITY_ID only makes sense in the first column. If the import file contains neither an ENTITY_ID nor a text attribute, it will not be imported.
The previous example looks like the following for the attribute type ID “AT_NAME”, that is, the identifying ID.

Format:
For certain attributes, you must note the format. These include date values that must be entered in the format of the current content language.
Note
When importing as an xlsx file or via Excel, it is recommended to format date values in Excel as “date”. Importing as a csv file or as an xlsx file, in which date values are formatted as “text”, allows the following formats per data type.
Attribute value for data type |
Format |
|---|---|
Date |
yyyy-MM-dd |
Datetime |
yyyy-MM-dd HH:mm:ss |
Time |
HH:mm:ss |
Also note that cell representation of numbers in scientific format, that means in exponential notation, is not supported by the import.
Note
The date information you find within your imports (e.g., “Valid from”, “Valid to”, “Created date”, and similar) undergo conversion to the time zone of the currently active user. This ensures that the display of date information always aligns with the user’s current time zone.
Note
The combination of quotation marks and a semicolon (";) in attributes with string values (e.g., the attribute Name, AT_NAME) is not supported by the import. Instead please use commas to separate these attributes.
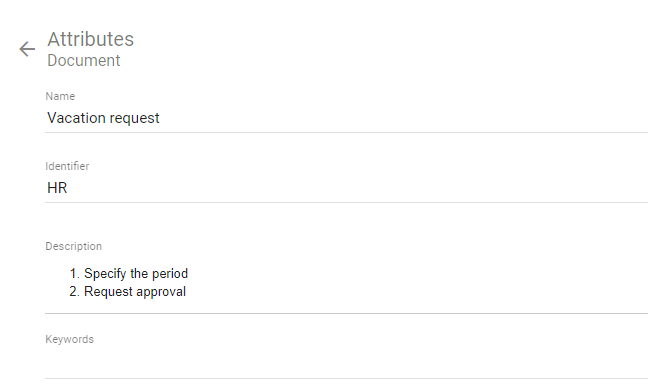
HTML tags which are used in the attribute Description will be interpreted during the import. The content of the attribute will then be displayed in the desired format after the file has been imported into the catalog. For example, you can specify the description of a document as shown below.

The content of the attribute is then displayed according to the given HTML format after the import into the catalog.
The possibility to convert HTML tags into the desired format only applies to the import. The export can not process HTML tags and also the formatting is not converted into HTML tags.
Multi-value text attributes, such as keywords, and links are also supported. The individual attribute values must be separated by a semicolon in the import so that they can also be recognized as multiple values. A space before or after the semicolon is not adopted in the attribute value.
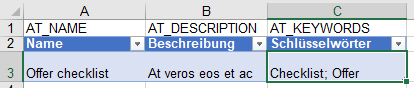
For example, the import above creates the two keywords “Checklist” and “Offer” for the offer checklist.
Note
Since all catalog entries are created during the import as object types of the selected filter, the imported file should also contain only this object type. Furthermore, the files (xlsx, csv) should be UTF-8 encoded. When importing an xlsx file, only the first spreadsheet is taken into account.
Hint
Please note that you cannot maintain or update assignments (like an assigned diagram in the subprocess attribute or person/ organizational units in the governance attributes author/examiner/responsible) via the catalog import. If you update existing catalog entries via an import, the current assignments in BIC Process Design are not overwritten (and new ones are not added).
How can I export the profile of a catalog entry?
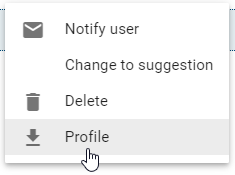
Go to the Catalog and navigate to the catalog entry for which you want to create a profile. Open its context menu by clicking on More options.
Afterwards click on Profile to start the creation.
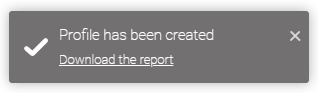
At the bottom right corner of the screen you will get a hint about the creation of the report and another hint as soon as the profile is ready to download. In the second message, click on Download the report to start downloading the docx file.
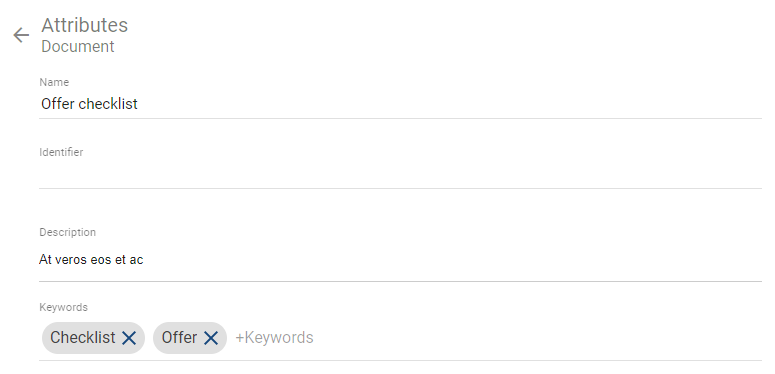
The profile is available in the catalog for the object types defined in the administration area. Administrators and editors can retrieve it. It lists all attributes that have an attribute value and the corresponding value in alphabetical order and is created in the current content language of the application. You do not see the values of assignment attributes as titles, but the actual assignment, such as a URL. Furthermore, the profile lists the uses of the catalog entry - grouped by diagram - in the form of tables. A table contains the names and types of the objects associated with the catalog entry and the connection types.
Note
If the report template does not exist in the selected content language, the English template is used. The maintained attribute values remain in the content language.