Model comparison
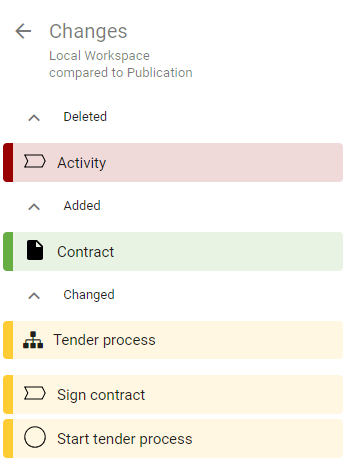
The model comparison provides a clear graphical highlight of the changes to earlier versions of a diagram. For example, compare your local workspace with the published version or compare two archived versions of the same diagram. You have the possibility to go directly to the object details and to see the individual changes.
Where can I find the model comparison?
As soon as the versions of a diagram differ, the results can be compared.
Select your diagram in the Explorer and open the Versions in the menu bar.
In this example, the diagram was selected in the public workspace. This differs from the preview and the publication. By clicking on the Compare icon in the “Publication” tab, the model comparison between the public workspace and the publication opens.
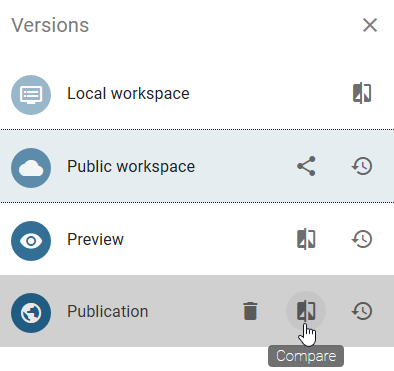
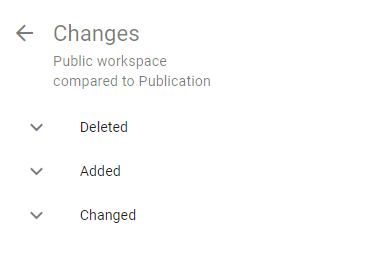
In the model comparison, the changes and differences between the stages are listed. The following image shows which stages are compared.
When and how is a symbol marked?
If you are in the model comparison, symbols can be highlighted in three different ways. In general, changes are marked by colored frames around the symbols in the editor and listed in the model comparison. The model comparison differs between the following changes:
Deleted: Removed elements are highlighted in red
Added: Added elements are highlighted in green
Changed: Changed elements are highlighted in yellow
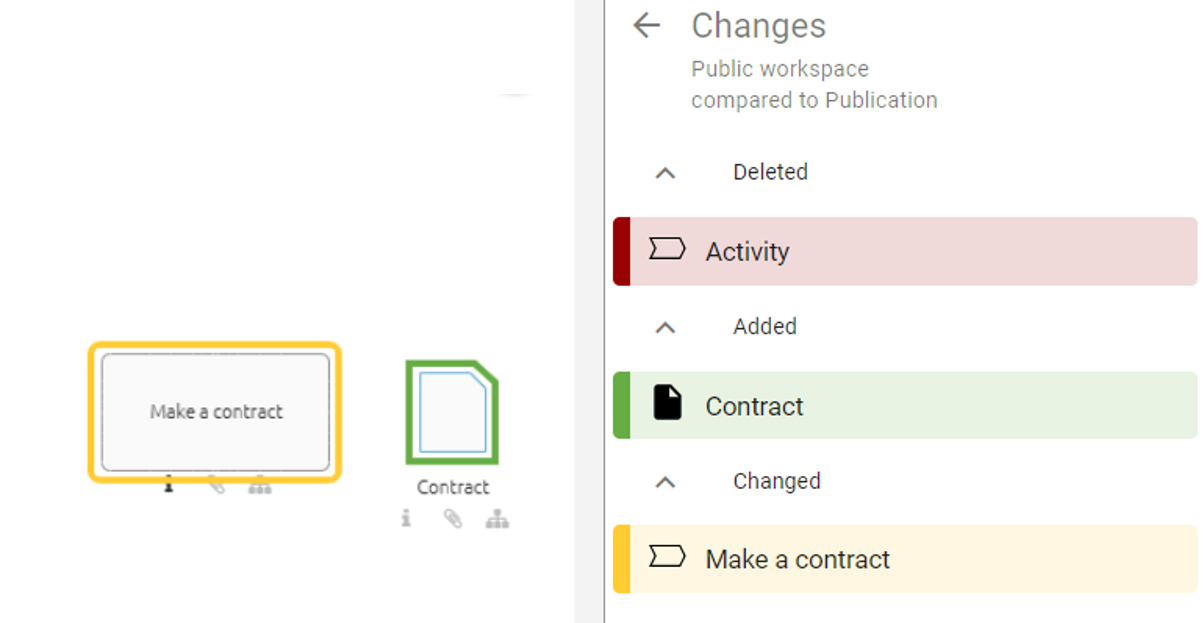
By clicking on an element in the list, the corresponding symbol is selected in the editor if it does not belong to the removed items.
How can I add, remove or reset listed elements?
While modeling, you can click on a model comparison in the public workspace and see all changes made in real time. Here you can add a removed element to the diagram, remove an element from the diagram, or reset a change.
Add to diagram
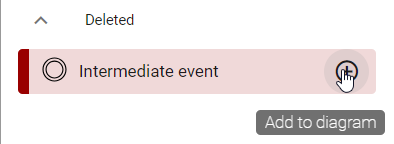
To add a removed element, select the Add to diagram option next to removed element in the model comparison. The element is then restored to the diagram and placed in the upper left corner.
Remove from diagram
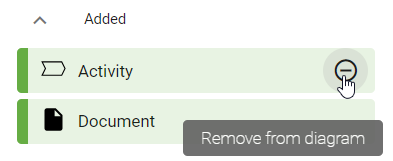
If you have added new elements to the diagram in any version, you can remove them from a checked-out diagram if required. To do this, click on Remove from diagram next to the element.
Reset changes
You also have the option to undo a change that has been made. To do this, click on Reset changes next to the element. Accepted catalog items revert to catalog suggestions.
If the addition, removal, or reset was successful, the element disappears from the model comparison and a success message is displayed.
How can I see which attribute has changed?
If the model comparison lists elements within the section changed, you can open the attributes of the element by clicking on the corresponding entry.

The headers of the changed attributes are finally highlighted in red in this view.
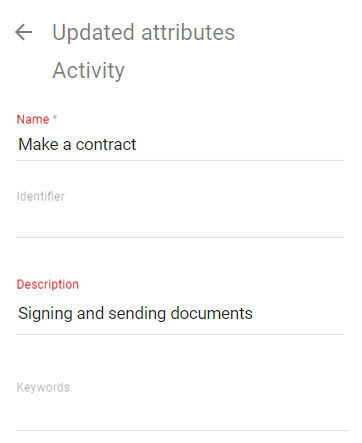
You will see changes to diagram attributes as well as object attributes. The entry of changed diagram attributes comes first in the list of changed elements for a better differentiation. In addition, you can also differentiate the different objets based on the icon displayed to the left of their name.
