Details
This section explains various display settings of diagrams and symbols used in diagrams. These options are each part of the Details bar on the right or are directly related to attributes of objects and diagrams. Depending on the administration settings the bar can contain the attributes, occurrences and the profile. In the publication stage, the details bar is displayed by default when you open a chart. If you close (re-open) the bar, this setting is stored in your account and the bar will always remain closed (opened) until you change it manually. This applies to any view changes, such as diagram switching or switching to Matrix or Process execution. For more information on the Details bar, see the following chapters.
Attributes
How do I display attributes in diagrams?
In the open diagram, you can view diagram or symbol attributes in the sidebar on the right. Note the administration for the attribute bar in the different stages.
Click on a symbol or diagram and click the Attributes-button in the menu bar.
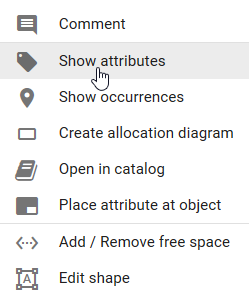
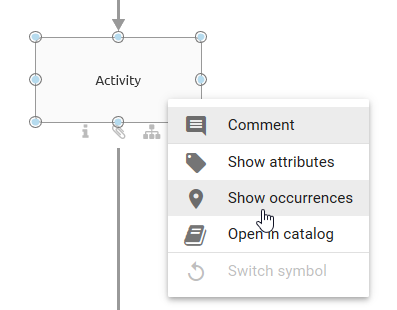
Optionally, you can right-click on a symbol and select the entry Show attributes of the appearing context menu to display the attributes of the currently selected symbol.
The Details sidebar appears on the right-hand side, displaying the diagram or object type above and below the attributes of the currently selected diagram or symbol. Objects that are “catalog suggestions” or an approved “catalog item”, have this additional information in the attribute bar next to the object type. If you look at a checked in diagram, you can see all attributes, that are maintained in the selected content or alternative language.
As soon as you check out the diagram, all attributes of the diagram or of the selected object are displayed. This is independent of whether an attribute is maintained or not. However, you are only shown values of those attributes that have been maintained for the selected content language. By default, further attribute groups, such as Governance, are hidden in the attribute bar. By clicking on the respective heading, you can display those attributes.

In the attributes of an object other objects, such as persons, can be used. You can navigate to the attributes of the used object by clicking on the corresponding entry. Clicking on the arrow in the attribute bar brings you back to the original view.
Furthermore, you can display the occurrences of a symbol in the opened attribute bar.
Tip
If no subprocess and no attachment has been maintained for a symbol, the attribute tab opens by double-clicking on the symbol.
Note
If you want to edit the attributes, you have to check out the diagram first.
How do I create a link to another diagram?
You can place links to other diagrams to create subprocesses of diagrams. These subprocesses allow you to map diagram hierarchies.
Create an activity in a diagram and open the attributes of this activity. Then, in the attributes, click the Subprocess attribute. Afterwards insert the name of the diagram you want to save. You will receive a suggestion list of diagrams containing the entered term in the name.
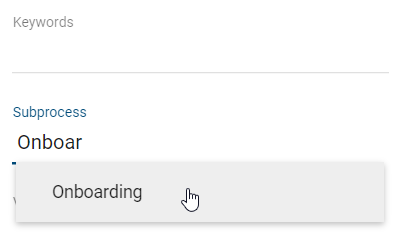
Select the diagram from the suggestion list. The subprocess is saved and is made visible in the diagram by the attribute symbol showing up below the activity.
Note
Variants and allocation models can be linked in the same way. Only existing diagrams can be linked as they are added via the suggestion list.
Tip
If you also maintain the process type of the activity as Call activity, a subcase in BIC Process Execution will be started for the subprocess.
Hint
Please note that diagrams accessed through a shared link can also be viewed by users who do not have read permission for that stage. In addition, limited navigation to other linked diagrams (e.g., subprocess, variants) is possible.
How can I connect users to diagrams and objects?
The attributes of diagrams and objects can be used to connect to users and user groups. This is possible using the attributes author, reviewer, responsible, scope, and restricted access for various functions.
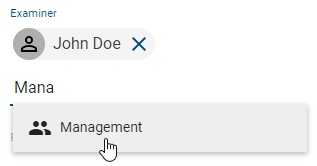
Navigate to the appropriate attribute in the attribute bar in the catalog or diagram. Then enter a term and you will get a suggestion list of all users or user groups that contain this term in their name. You can select a suggested user or user group by clicking on it. The corresponding person or organizational unit from the catalog will then be entered in the respecting attribute. Finally, save your changes.
Tip
You can also search for the user’s e-mail address. If a user is selected from the list and is not linked to a catalog object of the type “person”, a new catalog entry will be generated with the name and the e-mail of the given user. If more than one person exists with the e-mail address you are looking for, the catalog entry found first will be taken by selection of the user.
How can I maintain governance attributes?
You can maintain governance attributes for diagrams and some catalog entries. To do this, check out the affected diagram or navigate to the corresponding catalog entry and open the attributes. In the Governance attribute group, you can use a suggestion list to select users and user groups. The corresponding catalog object person or organizational unit will be set for the attribute, when the user or user group has been selected from the suggestion list. When you save the catalog entry or additionally check in the diagram, your changes are taken over. The different governance attributes and their functions are presented below.
Author: Users of the role Author only have the permission to edit diagrams if they are entered as author in the diagram attributes. This is possible for both users and user groups. In addition, you can enter authors in governance attributes of catalog entries. Then not only creating and editing suggested catalog entries is allowed, but registered authors can also edit accepted master data. An author of a published diagram or catalog entry is (by default) informed via e-mail about a resubmission.

Examiner: Users who are registered in the diagram (or catalog object) attribute Examiner execute the release step of a publication and will be notified of the pending release step. The examiner role can be assigned to individual users as well as user groups per diagram and per catalog entry. Per entry, that means per person and per organizational unit, one approval is required in the examine step to initiate the next workflow step. The first three examiners of a published diagram or catalog entry are (by default) informed via e-mail about a resubmission.
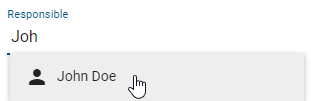
Responsible: A maximum of one user or user group can be entered in the Responsible attribute. This entry is required if a catalog entry is to be published individually or the diagram is to be published. The responsible user or user group is finally notified at the release step of the publication and can confirm it. Moreover, they receive a notification and a resubmission task before the validity period of a diagram or catalog object is reached. The attribute responsible (resubmission) can be used instead. In this case, the responsible will receive the information mail about the scheduled resubmission.
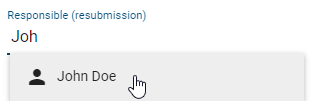
Responsible (resubmission): The Responsible (resubmission) attribute is available for diagrams and catalog entries. Either an individual user or a user group can be entered here. The responsible persons then receive the notification and a resubmission task before the validity period of a diagram or catalog entry is reached. If this attribute is empty, the Responsible receives the corresponding notification (and task in case of diagrams).
Tip
You can also search for the user’s e-mail address. If a user or user group is selected from the list and is not linked to a catalog object of the type “Person” or “Organizational unit”, a new catalog entry will be generated. This will have the name and e-mail of the corresponding user or the name of the user group as name and identifier.
Special retention period (in years): This attribute enables you to define an individual retention period for the archive entries of the concerning diagram or catalog entry. The retention period determines for how long an entry is saved in the archive. A general setting can be made in the administration. In case the period of archive entries in publication stage should differ for your diagram or catalog entry, you can set the desired value here. Maintaining an integer greater than zero leads to an archiving of new entries for the corresponding number of years whereas negative values will be ignored (i.e. the time set in the administration is applied). If no archive entries should be created for this object (in publication stage), simply enter the number zero.
Hint
Please note that the attribute Special retention period is deactivated by default. If it should appear in the governance attributes, it can be activated in the method. However, the special retention period is only applied to a diagram or catalog entry if the general archiving has been activated for the corresponding type in the administration.
How do I attach files to objects?
Modelers have the option to upload their own files (up to max. 64 MB) and link them to an object in a diagram. The file can optionally depend on the users’ language settings.
Navigate to the attributes of the object to which you want to attach a file. In the Attachment (URL) attribute, you can select a file from your folders by clicking on Upload file. BIC Process Design supports the following file formats:
.ods, .xls, .xlsb, .xlsx, .xltm
.pdf
.potm, .potx, .pps, .ppsm, .ppsx, .ppt, .pptx
.doc, .docm, .docx, .dot, .potm, .dotx, .odt

After you selected, a dialog window opens where you can rename your file. Via the checkbox Upload for all languages you have to decide if the attachment is intended for all languages (select checkbox) or only for your current content language (unselect checkbox).
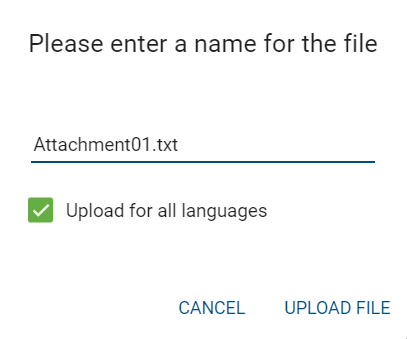
Click on Upload file to confirm your input and to attach the file to the object as a chip with the name of your input.
In case you uploaded an attachment only for your current language, you can change your content language and add an attachment for other languages as explained before. A clear administration of language dependent attachments is also recommended in translation mode.
The uploaded file can be downloaded by other users by clicking on the attribute entry whereas the linked file is depending on the users’ content language. Further options for downloading these files are also provided in the Profile and in the Matrix view, for example for inputs and outputs.
Optionally you can also insert your file into the attribute field Attachment (URL) of an object by using the drag & drop function and name it.
If you want to remove the attachment, click in the input field of the attribute, use the arrow keys to navigate to the chip (until it is highlighted) and press the backspace key on your keyboard to delete it.
Tip
URLs like links to documents on network drives can also be added as attachments.
Tip
Note the document stamping applied to files during publication of the associated catalog object. In addition, it is possible to convert files to a .pdf format within the publication.
Note
“/” characters cannot be included in the file name and are automatically removed when uploading. Moreover, the same URL cannot be added twice.
Hint
Please note that the PDF document will open in a new tab if you use the key combination Ctrl + click on a link. However, if you click directly on the link, the download dialogue will open. Additionally, you can access attachments through the paperclip symbol in the associated activity. Alternatively, you can use the Details bar on the right to view the attachments of the specific attributes. If a file is not supported in the application, automatic downloading will take place.
How can I maintain language dependent attachments?
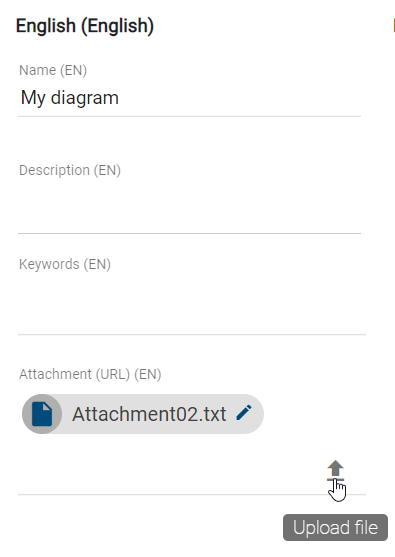
If you upload a file, you have the choice to link this file for your current content language or for all content languages which are selected in the administration. The translation mode offers a clear overview of the attribute Attachment compared in all content languages. You can enter the translation mode by clicking the option Diagram translation in the menu bar.
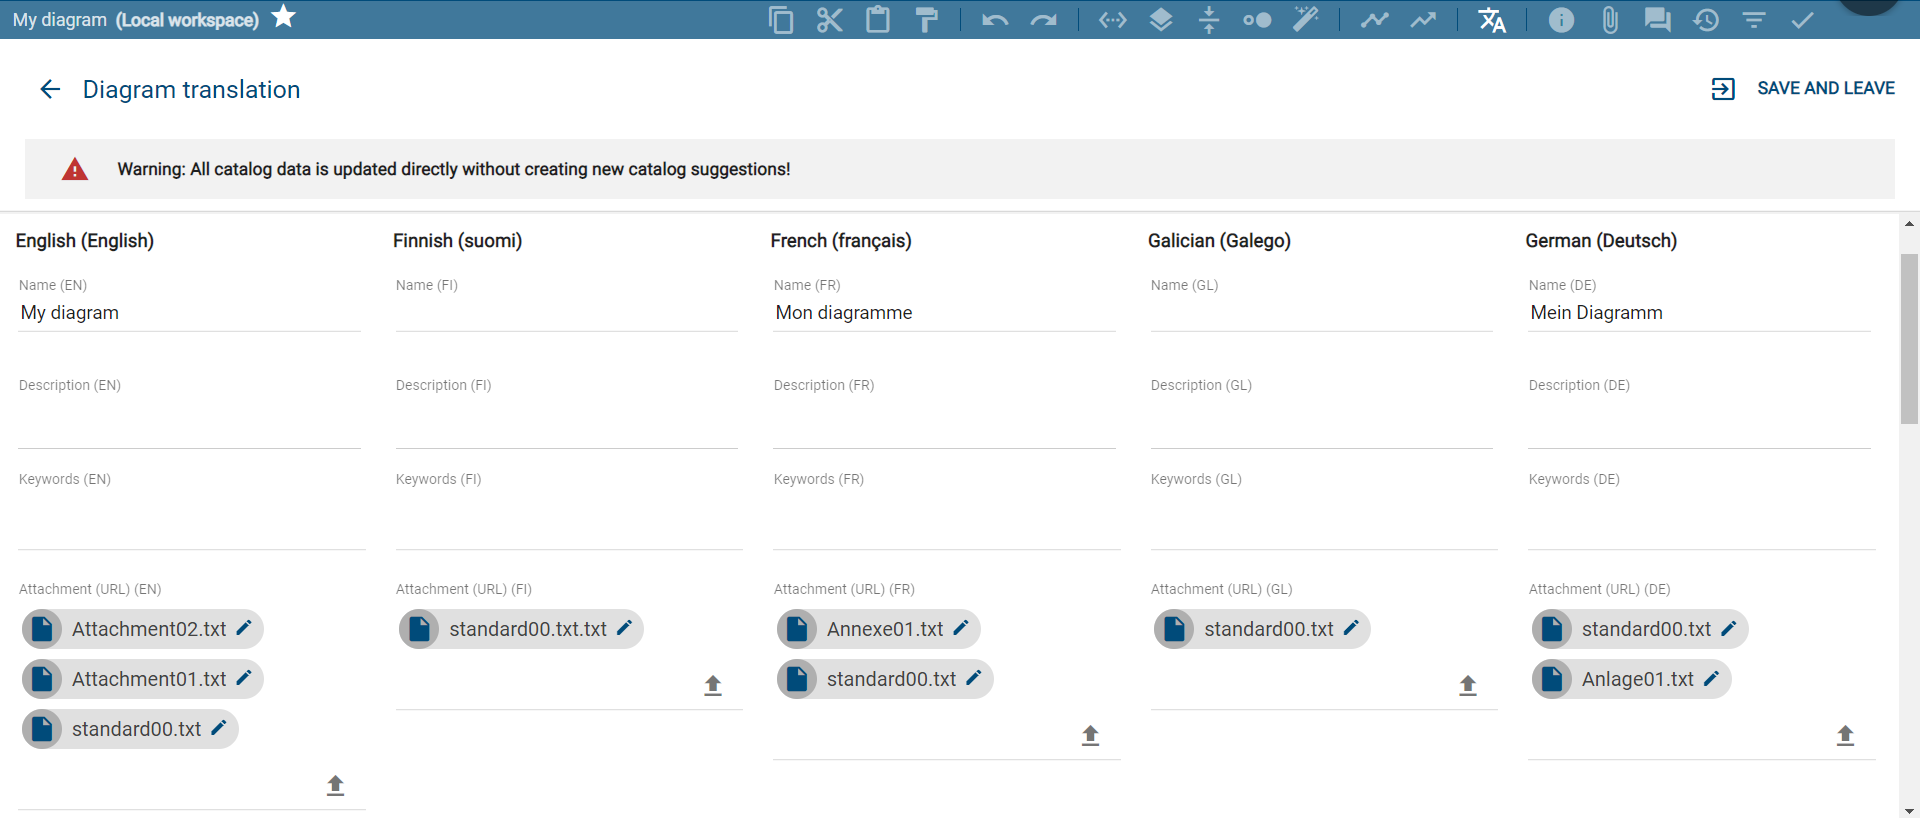
By a click on Upload file in the column of an arbitrary language, you can select and open a file as usual.
Via the checkbox Upload for all languages you can decide whether you want to link the file for all or only the selected language.
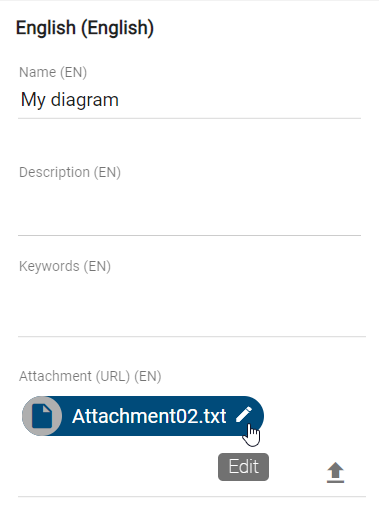
The function Edit enables you to change or rename the attachment also in translation mode.
Note
If you import a diagram containing an attachment that is not linked to languages, the attachment is maintained in every content language. Therefore no data will be lost. In case you would like to link the attachment to only one content language, you can adapt this attribute afterwards, for example using the translation mode.
How can I rename attachments (URLs)?
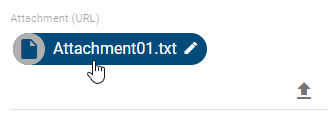
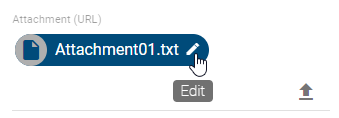
If the attribute “Attachment (URL)” is maintained, you can rename the corresponding attached file or URL language-independently. Navigate to the attachment, represented by a chip, in the attributes of the desired object. At the right edge of the chip you can select the option Edit, represented by a pen symbol.
This will open the dialog Edit title. In the field Attachment (URL) the URL, or the BIC Process Design-internal file path, is displayed but cannot be edited. In the Title input field, you can rename the attachment. Click on Save to take over the new title and display it in the chip.
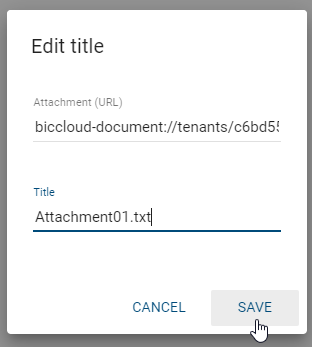
If you do not want to save your changes, click Cancel.
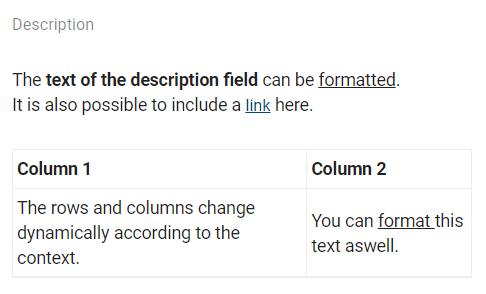
Which functions are available for the attribute description?
Each symbol and diagram has a description attribute. When you edit the description attribute for an object, some object types show a description icon by default.
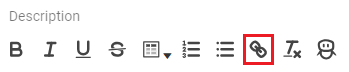
Click on the description attribute of a symbol (e.g. an activity). Various formatting options are available for the description attribute. These are:
Bold
Italic
Underline
Strikethrough
Table
Numbered list
Bulleted list
Add links
Remove format
Set the formatting according to your requirements and finish the editing by clicking in the diagram.
Add a link:
You have the possibility to link documents or URLs within the description field. To create a link, click on the link symbol.
A dialog opens where you can enter the link and optionally a title, i.e. a text which is displayed.
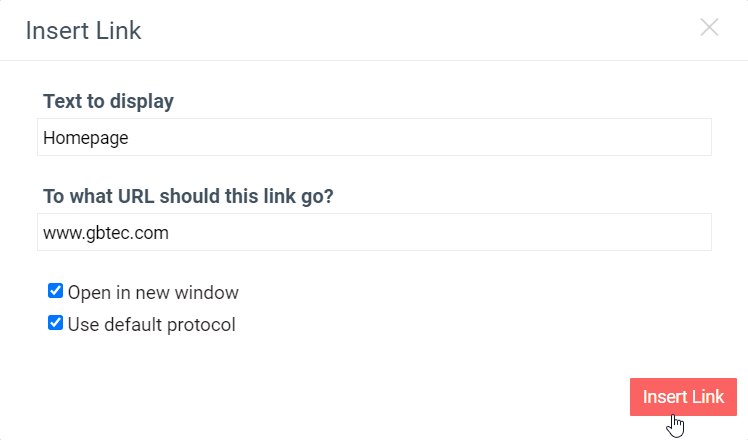
You can also mark a piece of text in the description field and click on the link symbol to fill the title automatically and attach the link to the existing text. In the dialog, you have two further options. First, you can choose whether the link is opened in a new tab (activate checkbox) or in the current tab when it is selected. If you select the second option, the default protocol http:// is used for your URL. Deselect the checkbox in case you use another protocol, like mailto://. Both options are initially activated. When the configuration is implemented according to your wishes, select the button Insert Link. Your configuration will be saved and the dialog closes. To discard the data instead, close the dialog via the cross button in the upper right corner.
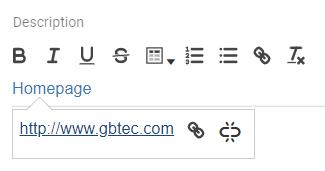
The title of the link is displayed in blue color afterwards. If you select it once, a pop-up will show the link and two buttons. Selecting the right one removes the link (the displayed text remains). The left button can be used to re-open the configuration dialog for further editing.
Table:
In order to insert a table, click the table icon to open a selection field. You can define the size of the table by hovering over the grid and confirming the desired columns x rows numbers by a click. The table is pasted into the description field. If you mark the table, you can move it to a desired place using drag & drop. To adapt the formatting of text inside the table, simply use the functions mentioned above. If you place the cursor in a cell, further functions are displayed to insert new rows and columns. You can also delete the current row/column. The bin icon enables you to remove the whole table. The table is removed instantly after selecting this function and there is no further confirmation necessary. Therefore, be sure about the deletion before selecting the function!
Note
Please note that if you use a description attribute that contains an HTML table and place it on the modeling canvas, the table borders may not be visible. In addition, when copying a table from PowerPoint, it may appear twice, once without formatting and once with formatting.
The maintained description attribute is indicated by an i under the symbol. Descriptions of your process steps and other symbols are displayed in a tooltip as soon as you move your mouse over the highlighted information icon of the object.
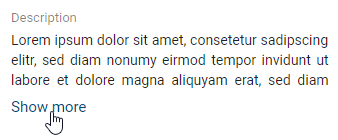
If you view descriptions of checked-in diagrams that contain more than 3 lines, they are displayed collapsed by default. You can see the entire description by clicking on Show more and minimize it by choosing Show less.
Note
For some object types the icon for maintained description attributes is not visible by default. It is possible to change this in the formatting options for a selected symbol.
Hint
The table formatting is not fully supported in exports. If you use a table in a description attribute, the content is still copied to the document as a table and appears in the defined formatting. But the table is displayed without a frame and border lines of the rows and columns.
What is a mandatory attribute and how can I detect it?
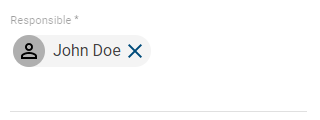
In the attribute tab, an asterisk marks a mandatory attribute. This applies both to the attribute tab in the diagram view and to the object details in the catalog. Entering such an attribute is mandatory to publish the diagram resp. catalog object. If these are not maintained, you will get a corresponding message in the application when initiating the release workflow. If you create or edit an entity, you do not have to maintain the mandatory attributes yet. Attributes can be defined as mandatory in the method.
For example, the attribute “Responsible” always is a mandatory attribute.
Note
The following exceptions will be applied to mandatory attributes that are multi-valued or language localized when the release workflow is initiated. The workflow engine checks if at least one value has been maintained for all mandatory multi-value attributes. There is no further check about the amount of values. The check for language localized attributes is successful if a value has been maintained for at least the default language of the tenant. If this attribute value has not been set, the initiator of the release workflow receives a notification about the missing translation in the diagram resp. catalog object.
What are occurrence attributes?
If you have multiple copies of an object, typically, the value of an attribute (for example, the name of the object) is the same for each of these copies. In contrast, the values of occurrence attributes can be set independently for each copy. If an object is copied, initially each attribute value is identical to the original value. These can, however, be subsequently modified without the other copies / the original being altered.
BIC Process Design uses a small symbol to indicate whether it is an occurrence attribute (see figure below).
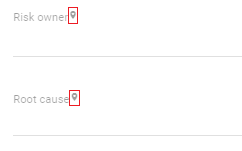
Occurrence attributes are defined in the method and cannot be defined in the application itself.
If the occurrence attribute has to be of identical type in all variants of the object, then it must be maintained individually for each object.
The contents and the identifiers of the occurrence attributes are not included in the catalog.
How can I place attributes at objects?
Some attributes of objects can be placed in the diagram. This includes all text attributes of the object that were maintained in the attribute bar.
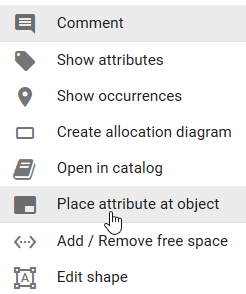
Right-click on the symbol in the diagram to open the context menu and select Place attribute at object.
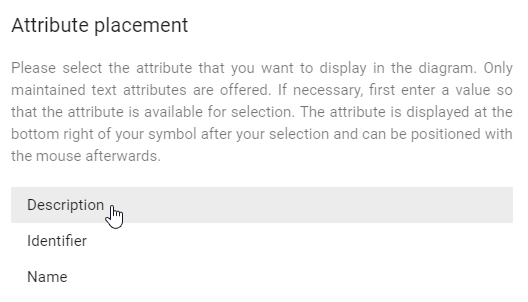
A window Attribute placement opens, in which you can select the desired attribute. All text and assignment attributes that are already maintained at the object are displayed here. If you want to select a text attribute that is not listed, you must first complete it in the attribute bar and repeat the first step.
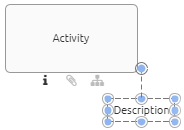
The selected attribute then appears at the bottom right of the icon. You can change the position and edit the text field by double-clicking it, if it is not an assignment. The changes are applied to the attributes of the object. The placement also gets updated, if the attributes are changed in the attribute tab. Assigned persons, organizational units and diagrams are displayed as text, with several assignments in an attribute separated by a comma.
Note
Please note that tables you have used in the description attribute cannot be displayed in the diagram. In addition, the table border of a description is not rendered on mouseover pop-up when you move the mouse pointer over the i-symbol on the activity in the diagram.
How can I set the access restriction for objects?
You can use the attribute Restricted access to restrict access to an object for certain users. To do this, you must edit the attributes of the object either in the diagram or in the catalog. This restriction applies if the object exists in the catalog. Only members of the selected user group, registered users and governance participants can see the object in the catalog or reuse it via the suggestion list. The access restrictions apply regardless of the user role, so even administrators can be excluded. If the access restriction attribute is empty, there are no restrictions.
Warning
Reuses of the catalog items with access restriction are still visible in diagrams despite access restrictions. This applies to the entire object, including all its attributes, such as attachments and files. Additionally, this data is included in the archived versions of the diagram.
How can I create entities while editing Attributes?
Organizational units, documents and norms can be created while editing the attributes during diagram creation. To do this, the attribute field has to be selected accordingly. After the first symbol is entered, suggestions for existing entities are shown.
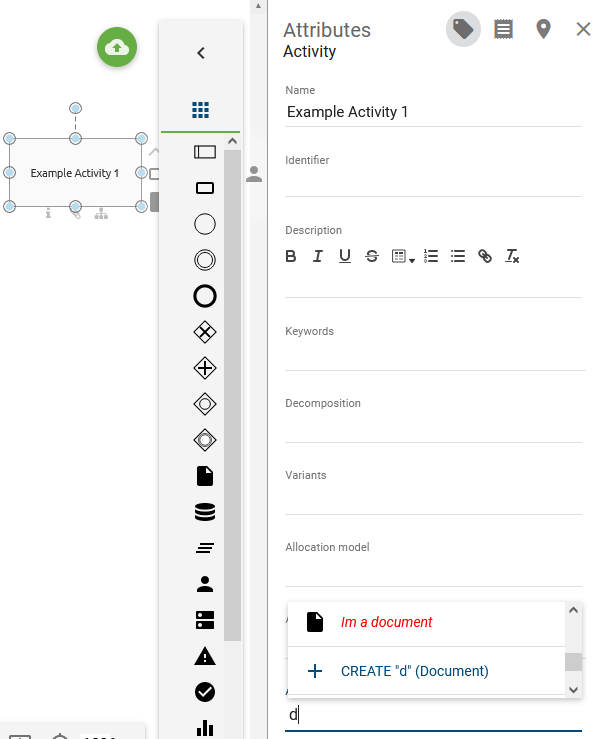
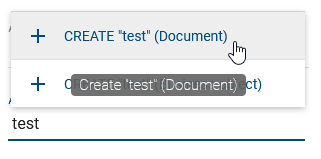
If a new entity needs to be created, the desired name can be entered into the attribute field and the correct “create”-option can be chosen.
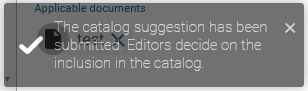
After entity creation, a notification will inform you about the addition of a new catalog entry.
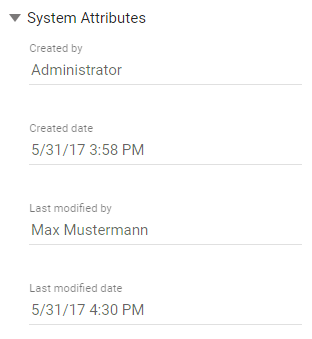
What are System attributes?
System attributes give the user in the Public Workspace information about the creator, the person who last edited the diagram and the associated timestamps of the diagram. These attributes are generated by the system and users can only read them.
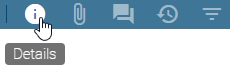
You have selected a diagram. Now open the Details by clicking on the button in the menu bar.
If you scroll down the tab, you can see the associated information by clicking on the heading System Attributes.
Note
When a diagram is published by the workflow engine, the system attribute “Last Modified By” of the diagram is set to “Workflow” in all stages.
Occurrences
How can I view the occurrences of symbols in diagrams?
If you have opened a diagram and want to display the occurrences of a symbol, proceed as follows.
Right-click the desired symbol. A context menu opens. Select View occurrences. This opens a bar on the right-hand side, listing all uses of this object.
By clicking on a list entry, you can then navigate to another diagram in which the object is reused, or display the occurrences in the current diagram.
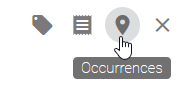
Optionally you can also navigate from the attribute bar to the occurrences of an object by clicking on the button represented by a pin. The selected button is visually highlighted.
Note
Depending on the stage in which you are looking at the diagram, the context menu varies.
Profile
How can I display the profile?
The Profile is available in all stages for all diagrams and for objects contained in diagrams. To view the Profile, follow these steps:
Select a diagram in the repository for which you want to view the profile. To display the profile of a symbol, select it in the opened diagram.
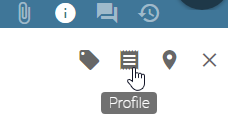
Open the Details in the menu bar, indicated by an “i”. Then, the details bar is opened, in which you can click on Profile to display the profile of the diagram or the selected symbol.
Default diagram profile: The profile view shows in default the name and the description of the diagram, responsible and contributing roles, used IT systems, documents and business objects, as well as the risks and controls in a diagram. In addition, information about the responsible person as well as release and expiry dates are visible.
Default activity profile: The profile view of an activity contains the following information in default, if these are directly related to the selected activity in the diagram or are maintained in the attribute bar: name and description of the symbol, responsible and contribution roles, IT systems, inputs, outputs, risks and key performance indicators.
Objects, such as roles, may be shown as chips in the profile. Click on this chip to navigate to the profile of the corresponding object. If the profile is not available for this object, you are navigated to its attributes or otherwise to occurrences. Click on the arrow in the details bar to return to the original view.
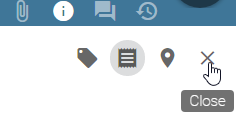
Click on the Close-button to exit the profile view.
Note
Please note that the button Profile in the details bar can only be selected if this was specified in administration. Furthermore, the content of the profile may vary depending on the configuration, object type and diagram type.
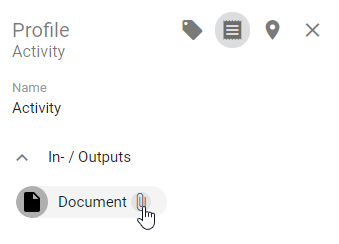
How can I access attachments of entries in the profile?
If a profile lists objects that have maintained a file or URL in the attribute “Attachment (URL)”, they can be accessed directly.
Navigate to the Profile of a diagram or object. If the chip of an entry contains a paperclip, an attachment is maintained. Clicking on the paperclip opens the attachment directly or instead a selection menu if several attachments are available.